Does Roti Need Baking Powder? The Real Deal for Softer Breads
 Jun, 13 2025
If you’re scrolling through the internet, wondering if baking powder is some magic fix for softer rotis, you’re not alone. Roti is all about those fluffy, pillowy layers—but do you truly need to toss in baking powder?
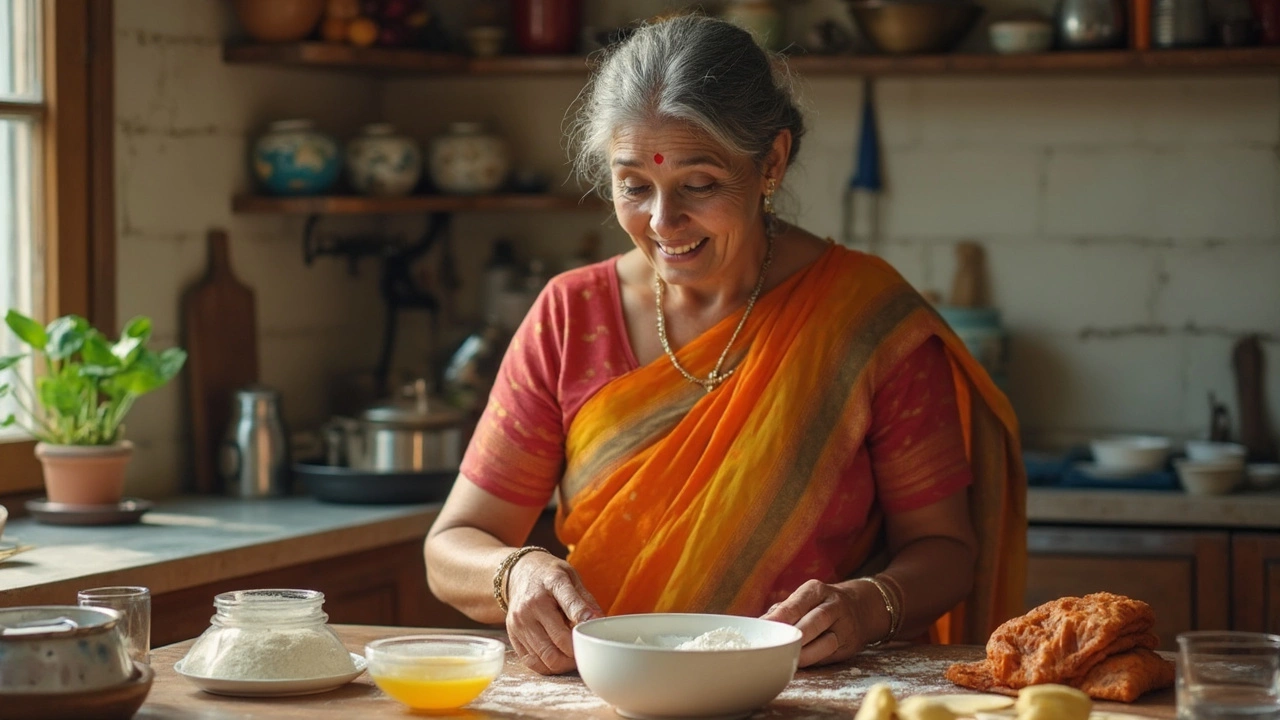
Most Indian households make rotis with just two things: atta (whole wheat flour) and water. Maybe a pinch of salt if someone’s feeling fancy. Baking powder almost never shows up in the mix. It’s not because people missed the trend but because rotis turn out just fine (and sometimes better) without it.
People often reach for baking powder when they’re frustrated by tough, chewy rotis. Here’s the real kicker: softness and puffiness usually come down to kneading, resting, and how you cook the roti, not a spoonful of magic powder. I’ll show you what actually makes a difference, which shortcuts are worth skipping, and simple tweaks to make every batch a win.
- Traditional Roti: How It’s Really Made
- Why Would Anyone Add Baking Powder?
- What Happens When You Use Baking Powder?
- Tips for Soft Rotis Without Baking Powder
- Myth-Busting: Common Mistakes and Fixes
Traditional Roti: How It’s Really Made
Walk into any regular kitchen from Delhi to Bengaluru and you’ll see the same basic ritual: atta (wheat flour), water, sometimes a pinch of salt—that’s it. No baking powder, no secret agents. This is roti in its purest form, and it’s worked for generations.
The key is in the process, not a fancy ingredient. Here’s what usually happens:
- Scoop out some atta into a wide bowl.
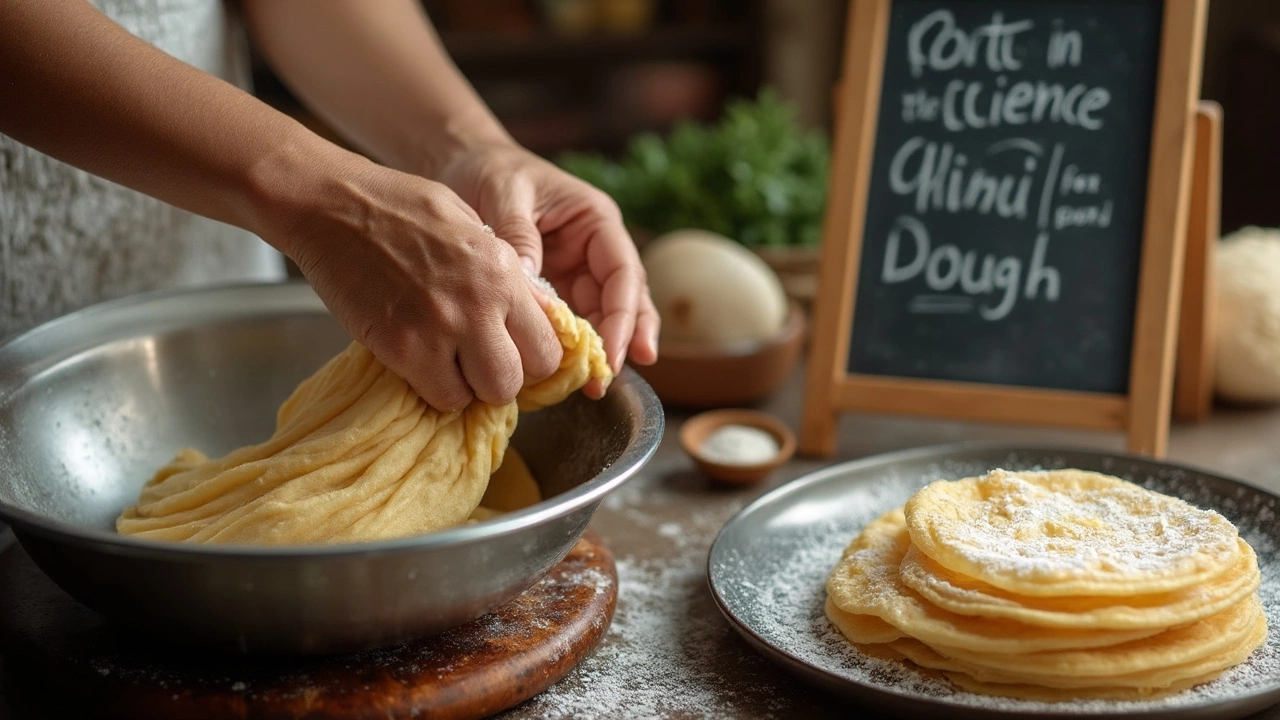
- Slowly mix in water, little at a time, working it in until you’ve got a soft, springy dough. Most folks knead for at least 5-10 minutes—trust me, more effort here means softer rotis later.
- Let the dough rest. Even 15-20 minutes does wonders. It relaxes the gluten, making it easier to roll and giving you those tender results.
- Pinch off small balls, flatten them, dust with dry flour, and roll out with a pin until they’re thin and roundish. Don’t worry if they’re not perfect circles—nobody’s grandma loses sleep over a wonky edge.
- Cook on a hot tawa (flat pan). Once you see bubbles, flip, and let the second side cook for a few seconds. If you want to go pro, finish it right on the gas flame so it puffs up like a balloon. That puff is pure joy.
This basic method works everywhere, from highway dhabas to busy family kitchens, and it’s survived simply because it gets you soft, tasty rotis every time—no baking powder needed. Every region might tweak stuff a bit (oil or ghee in Gujarat, a splash of milk in Punjab), but the main formula stays classic: wheat, water, hands-on kneading, a little patience, and heat.
Why Would Anyone Add Baking Powder?
This question pops up a lot, especially if you’ve ever struggled with making your roti soft and puffy like your grandma’s. So what’s all the fuss about baking powder?
Baking powder is a leavening agent. Basically, it helps dough rise by releasing carbon dioxide when it reacts with water and heat. For fluffy cakes and some types of bread, it’s a classic trick. But with rotis—traditionally an unleavened bread—you don’t need that extra lift. Still, some home cooks hope that a pinch of baking powder will make even a rushed or badly-kneaded dough turn out softer and lighter.
Certain YouTube and Instagram cooks started adding baking powder to roti recipes. Why? Quick fixes for texture. Maybe you’re using old atta that’s a bit dry, or your dough feels tight. Tossing in baking powder can make things more forgiving, especially for beginners still learning to knead just right or roll their dough thin.
But let’s get real: it doesn’t give you that same puffed-up phulka look. More often, you’ll end up with a texture halfway between roti and pita bread. Some people like it, some don’t. It’s a shortcut, not a tradition.
Here’s what some home cooks have noticed after adding baking powder:
- Slightly softer rotis, but not super fluffy.
- Less need to rest the dough, speeding up the process.
- A risk of the roti feeling a bit “cakey” instead of that classic chewy bite.
If you’re looking for stats, check out this simple table showing what happens in a side-by-side kitchen test:
| Baking Powder Added? | Texture | Puffiness | Cooking Time |
|---|---|---|---|
| No | Chewy, classic | Good | Standard |
| Yes | Softer, a bit cakey | Less | Quicker |
So, people try baking powder for convenience, but you do trade off some of that authentic roti feel. It’s not wrong, but it’s also not a cure-all—just a tweak that works for some but not all tastes.
What Happens When You Use Baking Powder?
You might think dropping some baking powder into your roti dough will bring a bakery-soft, fluffy texture. Here’s the actual deal: baking powder is a leavening agent, so it makes dough rise by creating bubbles. But roti isn’t meant to rise the way bread or cake does.
When you mix baking powder into your atta, the dough gets a bit lighter. Sometimes, rotis might puff up just a little more, but that classic flaky, chewy texture? You don’t get the same thing. Instead, you might end up with rotis that feel somewhere between a paratha and pita bread—occasionally dry, sometimes a bit tough after cooling. If you go overboard with the baking powder, the rotis can develop a weird, soapy flavor.
Here’s what actually changes when you add baking powder:
- The rotis get a little airier but can lose their signature chew.
- The taste may slightly change, often not in a good way.
- They might become dry much faster, especially if left out for a while.
- Overuse gives a chemical aftertaste that you really start to notice after a few bites.
If you’re baking a roti for that pure, homemade taste, baking powder doesn’t fit in. All the softness tricks are in the dough handling: a proper knead, enough resting time, rolling technique, and a hot tawa. Most folks who try baking powder out of curiosity end up leaving it out the next time they make rotis.
Tips for Soft Rotis Without Baking Powder
If you’re gunning for that super soft roti without falling back on baking powder, it’s all about the basics—how you mix, knead, and cook. These aren’t just old family tricks; they’re backed by what actually works in most Indian kitchens.
- Knead It Like You Mean It: Spend at least 5 to 8 minutes kneading the dough until it turns smooth and stretchy. Wheat flour develops gluten as you knead, and this gluten gives rotis that bendy, soft texture. Skipping or rushing this step is the main reason for tough, flat rotis.
- Water Makes or Breaks It: Use warm water, not cold. Warm water helps the wheat flour absorb more moisture, turning dough soft and easy to work with. The right trick? Add water slowly, until the dough stops sticking to your hands but still feels squishy.
- Let It Rest: Cover your dough and let it rest for 15–30 minutes. This gives gluten plenty of time to chill out and makes rolling way easier. The difference in softness—massive!
- Don’t Roll Too Thin: Thick rotis puff up better and stay soft longer. If you roll them super thin, they turn crusty real fast.
- Cook on a Hot Tava: Your pan should be hot enough for a drop of water to sizzle. Cook one side until you see little bubbles, flip, and press gently—the roti will puff up. Under-cooked or over-cooked rotis both get chewy.
| Problem | Why It Happens | Quick Fix |
|---|---|---|
| Dough too hard | Not enough water or rushed kneading | Add a few spoons of warm water and knead again |
| Rotis not puffing | Dough too tight or tava not hot | Knead longer, let rest, and ensure tava is hot |
| Chewy rotis | Overcooking or rolling too thin | Roll thicker, cook just till brown spots appear |
Some home cooks also mix in a teaspoon of oil or ghee while kneading. It’s optional, but it does make the dough extra soft. Don’t fall for shortcuts—no yogurt, no crazy tricks—just get the basics right, and soft rotis are a guarantee.

Myth-Busting: Common Mistakes and Fixes
Let’s get real about why your rotis sometimes end up hard, stiff, or just a bit sad looking. Tons of advice floats around, but most problems actually have super straightforward solutions.
- Too little water: Dry dough is the number one enemy. You want your dough to be soft—almost sticky when you finish kneading. If you skimp on water, no amount of baking powder or fancy gadget will help.
- Not enough kneading: Skipping this step makes the dough dense and tight. Squish it together for at least 5-7 minutes. The longer you knead, the softer your rotis.
- No rest after kneading: Think of resting as the dough’s nap time. A 20–30 minute rest lets the flour fully absorb water and softens up the gluten. If you’re in a rush, even a 10-minute break is better than none.
- Rolling too thick or thin: If the rolled dough is uneven, you’ll get patchy rotis—some bits overcooked, some undercooked. Go for even discs, about 2mm thick.
- Low heat: If your pan isn’t hot enough, rotis get dry before they cook through. Preheat the tawa until a sprinkle of water sizzles and evaporates quickly.
- Stale atta: Fresh flour makes a difference. Old atta loses its moisture and that affects your rotis.
So, does adding baking powder really fix these? Here’s a quick truth-bomb: it doesn’t. Check out this comparison table from a side-by-side test done by a popular Mumbai cooking school:
| Roti Type | Texture | Puffiness | Flavor |
|---|---|---|---|
| Traditional (No Baking Powder) | Soft, chewy | Good | Nutty, classic |
| With Baking Powder | Too airy, sometimes crumbly | Might over-puff | Slight chemical aftertaste |
If you want to nail that perfect roti, focus on water, kneading, resting, and heat. A few pointer fixes work way better than adding a random ingredient to the dough. Try these small shifts, and forget about the baking powder entirely—your rotis and your dinner guests will thank you.