How Lemon Transforms Milk for Homemade Paneer Magic
 Feb, 14 2025
So, you're curious about why lemon makes milk curdle and how that magic translates into making paneer? It's actually pretty cool chemistry! When you add lemon to milk, it's not just a random kitchen accident; it's an intentional move to create something delicious and fresh at home.
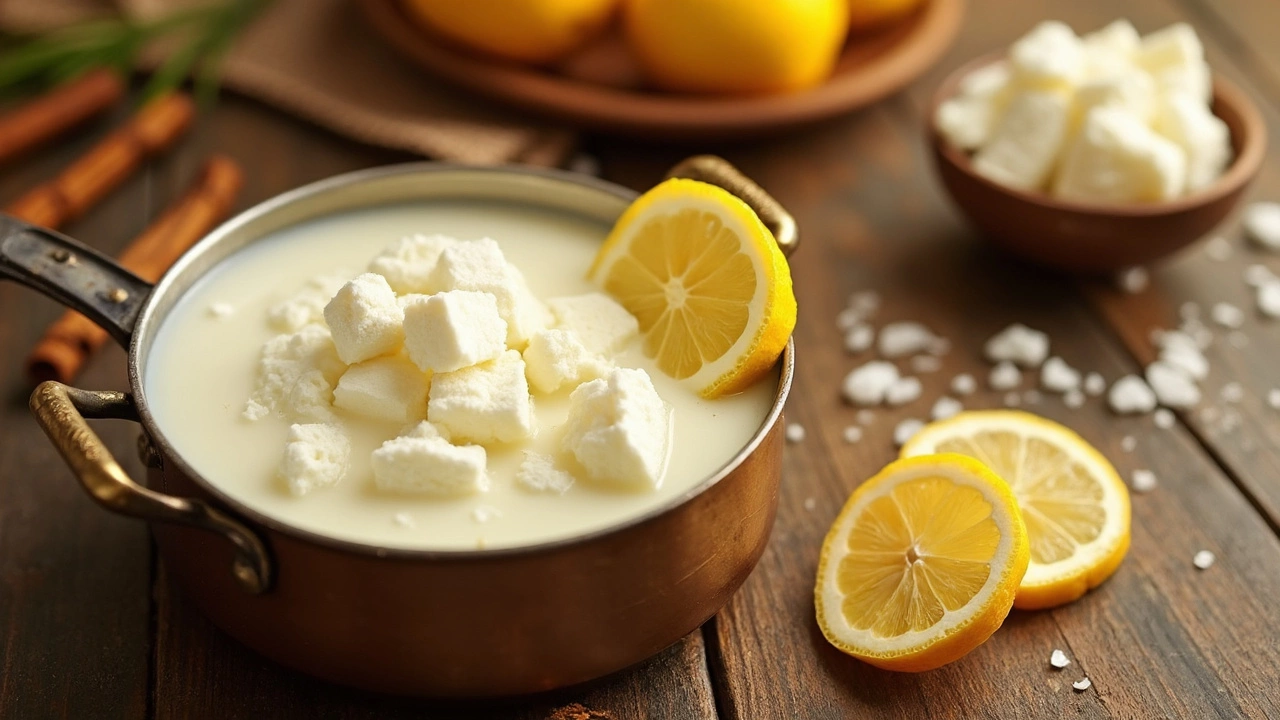
Picture this: you’ve got this calm milk sitting there, just being milk. Then, you squeeze in some lemon juice. Lo and behold—curds start to form! The milk separates into these white, fluffy bits, known as curds, and a watery substance called whey.
This is the foundational step in making homemade paneer, an Indian cheese that's versatile and can be used in so many dishes. Whether you're adding it to a stew or grilling it to perfection, understanding this step is key. Plus, making your own paneer can save you a trip to the store and give you the satisfaction of creating something from scratch.
- The Lemon and Milk Reaction
- Curdling Science 101
- Why Use Lemon for Paneer?
- Steps for Making Paneer at Home
- Tips for Perfect Paneer Texture
- Troubleshooting Common Issues
The Lemon and Milk Reaction
When you think about adding lemon to milk, it might sound a bit unusual, but this simple kitchen trick is what sets the stage for paneer making. Let's dive into why this combination works and what actually happens.
How Does Lemon Affect Milk?
Milk is made up of proteins, fats, and water. A key player here is a protein called casein. When you introduce an acid like lemon juice into the mix, the pH level of milk drops. This change causes the casein proteins to coagulate, meaning they start clumping together. This process is what forms the curds and leaves behind the watery whey.
Why Lemon? The acidity of lemon juice is just right for this process. It's strong enough to kickstart the reaction but gentle enough not to overpower the taste of your paneer. Though you could theoretically use other acids, lemon is the most common due to its availability and flavor profile.
Factors Affecting the Reaction
A few things can influence how this reaction takes place:
- The temperature of the milk. For quick curdling, it's best if the milk is near boiling when you add the lemon juice.
- The amount of lemon juice. More acid means quicker curdling. Usually, the juice of one lemon is enough for a liter of milk.
- The type of milk. Whole milk works best because of its higher fat content, which gives your paneer a richer texture.
Did You Know?
Here's a quick fact for trivia lovers: The first recorded use of acid to curdle milk dates back over 3,000 years, with different cultures around the world using vinegar, citric acid, and, of course, lemon.
So the next time you add lemon to milk, remember it’s not just a casual kitchen experiment—it's tapping into a long history of culinary science!
Curdling Science 101
Ever wondered what exactly happens when you add that squirt of lemon into warm milk? It's all about pH levels and proteins playing their part. Milk is primarily water, protein chains, and fat. The key player here is a protein called casein.
Now, when milk is hanging out in its natural state, these casein proteins just float around without much excitement. The story changes with acidity. When you introduce an acid, like lemon juice, the pH of the milk drops. This sudden change causes the casein to clump together, creating curds. You're effectively setting the stage for homemade paneer right there.
Understanding the Chemistry Behind Curdling
The science behind curdling is straightforward. Lemon juice's citric acid smiles at the milk proteins, causing them to cuddle up together by neutralizing their negative charges. As these proteins clump, they form the soft, fluffy curds—exactly what you need for making paneer.
Why Timing and Temperature Matter
You want to get the most out of this reaction—hence, timing and temperature are pretty crucial. Heating the milk to just below boiling ensures that the proteins are ready to react when that lemon juice hits. If you've ever tried this with cold milk, you'd understand how less effective it can be.
Here's a quick tip: For every liter of milk, you should use about 2 tablespoons of lemon juice. Stir gently and you'll see the milk curdling almost instantly. Pretty cool, right?
Fun Fact
Did you know? In some parts of the world, lime juice or even vinegar is used as an alternative to lemon for curdling milk. But lemon juice remains popular for its milder flavor.
Why Use Lemon for Paneer?
Ever wondered why we specifically reach for a lemon when making paneer? There’s a good reason behind it. Lemons are readily available, they're natural, and that tangy juice is perfect for the job.
Lemon juice is acidic, which is exactly what we need to kick off the curdling process. The acidity causes the milk proteins to coagulate, making the separation into curds and whey smooth and efficient. Plus, it leaves no aftertaste, which is essential for keeping the flavor of your homemade paneer neutral, making it a versatile ingredient for different dishes.
The Science Behind It
The primary compound in lemon juice responsible for this process is citric acid. When you add it to milk, the acid denatures the proteins, which means it changes their structure and helps them clump together to form curds. It's a quick process and satisfies both the chemistry geek and the culinary artist in you!
Other Options, But Why Lemon Wins?
Sure, you could use other acids like vinegar or yogurt, but lemon is preferred for its balance of flavor and efficiency. Vinegar might affect the taste, and yogurt can take longer, but lemon feels just right for most people. It’s also easy to control how much acidity you're adding.
Getting the Right Amount
One trick to getting the perfect paneer is knowing how much lemon juice to use. Typically, you'll need about two to three tablespoons of lemon juice for every liter of milk. But it's always good to have a bit more on standby, just in case your milk is stubborn and needs a little extra push!
So, next time you're in the kitchen whipping up some paneer, give your lemon a nod of appreciation for making it all possible. It's a kitchen superhero in disguise!
Steps for Making Paneer at Home
Ready to whip up some fresh paneer at home? It's easier than you think, and you don't need any fancy ingredients. Here's a straightforward way to turn that milk into delicious homemade paneer using lemon.
What You Need
- 1 liter of whole milk
- 2-3 tablespoons of lemon juice
- A large pot
- A strainer or colander
- A cheesecloth or thin kitchen towel
Let's Get Started
- Heat the Milk: Pour the milk into a large pot and bring it to a gentle boil over medium heat. Make sure you stir it occasionally to prevent burning.
- Add the Lemon: Once it's just starting to boil, reduce the heat and stir in the lemon juice, one tablespoon at a time. You'll notice the milk beginning to curdle almost immediately. If it doesn't curdle, just add a bit more lemon juice.
- Let it Curdle: Keep stirring gently. You'll see the curds separating from the whey. When the whey looks transparent and slightly greenish, you're ready to strain.
- Strain the Mixture: Line a strainer with a cheesecloth and carefully pour the curdled mixture through it. Rinse the curds under cold water to remove the lemon flavor.
- Shape the Paneer: Gather the edges of the cheesecloth and twist to remove excess water. Press it under a weight for 15-20 minutes to set into a firm block.
- Cut and Enjoy: Unwrap your paneer and cut it into cubes or any shape you prefer. It's ready to use in your favorite recipes!
That's all it takes! With these steps, you can enjoy homemade paneer that's fresh and tailor-made for your cooking adventures.
Tips for Perfect Paneer Texture
Let's get those paneer cubes just right! If you're aiming for the best texture—soft yet firm, and not crumbly—here are some golden rules to follow. Your homemade effort can definitely rival any store-bought version.
Choose the Right Milk
Start with full-fat milk for a creamier paneer. Low-fat milk might work, but you'll miss out on creaminess. Remember, quality milk equals quality paneer. No shortcuts here!
Get the Temperature Right
Heating the milk to just before it boils is crucial. Aim for around 200°F (about 93°C). If it gets too hot, your milk can get scorched, affecting the flavor. A kitchen thermometer can be your best friend here.
Timing the Lemon Juice
When the milk's nice and hot, add your lemon juice gradually. This is where the magic happens. Stir gently as you add it, and you'll see those curds start forming. Don’t rush the process; give the whey a chance to separate completely.
Straining Curds Properly
After the curds have formed, pour them through a muslin cloth or cheesecloth over a colander. Rinse with cold water to remove the lemony taste. Squeeze out excess water, but don’t go overboard. Leaving some moisture gives your paneer its soft texture.
Pressing the Paneer
Shape your paneer into a block by folding the cloth and placing a weight on top. An old-fashioned trick is using a pot filled with water. Let it press for about 1-2 hours depending on how firm you want it.
Cooking with Paneer
Once pressed, cut the paneer into cubes. Use it fresh in dishes like palak paneer or grill it to add that extra touch. If you're into stir-fries, sautéing these cubes with veggies can be a game-changer.
| Desired Firmness | Approximate Weight (lbs) |
|---|---|
| Soft | 1-2 |
| Medium | 3-4 |
| Firm | 5+ |
Follow these steps, and you’ll have perfectly textured paneer that’s a joy to cook with. Who knew you could be this awesome in the kitchen?
Troubleshooting Common Issues
Making paneer at home can sometimes throw a curveball your way. Whether it’s about texture, taste, or just the process itself, here are some common hiccups you might face and how to fix them.
Curds Not Forming
This can be frustrating! It's likely that the milk wasn't hot enough or there wasn't enough lemon juice to cause the full reaction. Ensure your milk is brought to a gentle simmer—around 85°C (185°F)—before adding the lemon. Too little acid can lead to no curdling; gradually add more lemon juice until you see clear signs of separation.
Paneer Too Hard
Hard or rubbery paneer can happen if you press it too much or for too long. Use a lighter hand when pressing the curds, and don't overdo it. Aim for about 20 minutes with just a light weight, like a full saucepan, on top.
Sour Taste
If your paneer is tasting too tangy, it’s often due to an overdose of the lemon. Rinse your curds under cool water after separating them from the whey. This helps wash away excess acid, keeping the flavor mild and creamy.
Crumbly Paneer
Crumbly texture can happen if the milk wasn't rich enough in fat. Consider using whole milk for a more cohesive dough. When forming the paneer, knead lightly to help the curds bind together better.
Quick Fixes
- Did your paneer break apart during cooking? Try adding a teaspoon of flour while kneading to help hold it together.
- Still finding it hard to curdle? White vinegar can be a substitute for lemon juice if you're in a pinch.
Remember, practice makes perfect. Don’t feel discouraged if it takes a few tries to nail down the perfect paneer. Each batch is a learning step to a delicious end!