Ideal Urad Dal to Rice Ratio for Perfect Dosa Batter
 Apr, 8 2025
Getting your dosa batter just right can feel like a bit of a kitchen mystery, but trust me, it's all about nailing the urad dal to rice ratio. If you've ever wondered why your dosas weren't turning out as perfect as those from your favorite street vendor, this could be the key!
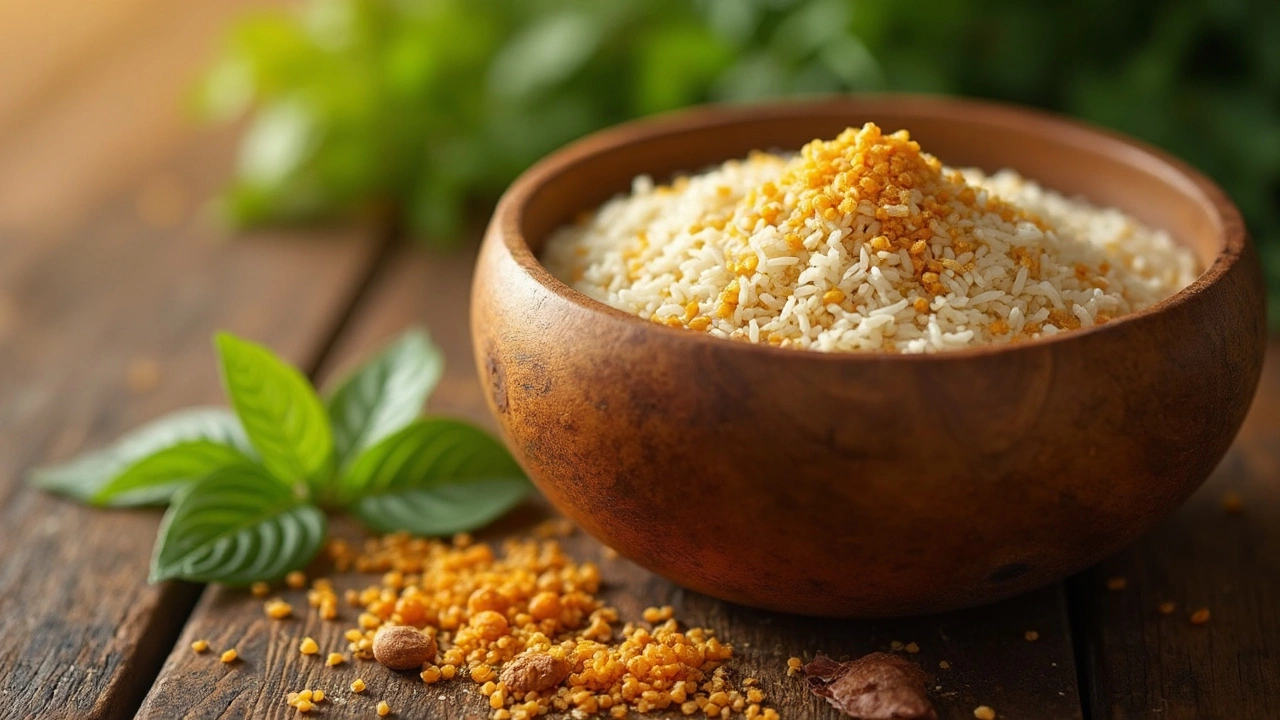
The most recommended ratio for dosa batter is 1 part urad dal to 3 parts rice. This means if you're using, say, a cup of urad dal, you should pair it with three cups of rice. Why this ratio? Well, urad dal helps in fermentation and gives the dosa its fluffiness, while rice adds the crispiness we all love.
Choosing the right type of rice and dal is crucial too. You might want to go for idli rice or parboiled rice as they fluff up better, and for the dal, use whole urad dal for best results. Simple, right? The journey to perfect dosa involves a few more important steps. So let's dive into some dos and don'ts, starting with soaking...
- Understanding the Basics
- The Magic Ratio
- Soaking Essentials
- Grinding Techniques
- Fermentation Tips
- Troubleshooting Common Issues
Understanding the Basics
Before jumping into the nitty-gritty of dosa making, it's super important to get a grip on what makes this South Indian classic tick. At its core, a dosa is essentially a thin pancake crafted from a fermented batter. The main ingredients here are urad dal and rice. The magic lies in how these ingredients are prepped and combine to create that perfect blend of flavor and texture.
The fermentation process is key and it essentially involves mixing the batter and letting it sit, sometimes overnight. This isn't just about making it rise. Fermentation plays a big role in developing that tangy taste and fluffy texture. So, allowing time for the natural fermentation process is huge when you're aiming for authentic dosas.
Now, why 1 part urad dal to 3 parts rice? This ratio is tried and true. It gives you the ideal balance of pliability (thanks to the rice) and softness (courtesy of the dal). You could tweak the ratio a bit, but stepping too far from this balance could affect the texture or taste.
One more thing before you start: make sure you're using the right kind of rice and dal. Typically, idli rice or parboiled rice is recommended because of their high starch content, which aids in fermentation, while whole urad dal gives the batter just the right amount of fluff. Avoid using split urad dal as it's not as potent for our purpose here.
When you're prepping, washing the rice and dal thoroughly is essential to get rid of any surface impurities or dust, contributing to a smoother batter later on. So, there you go – a solid foundation to kick off your dosa-making adventure!
The Magic Ratio
Alright, let's get into the nuts and bolts of this crucial ratio business. When it comes to dosa batter recipe, understanding the urad dal to rice ratio can make a world of difference. This ratio is typically 1:3—one part urad dal to three parts rice. But why? Well, that magical combo gives you a batter that’s easy to ferment and results in crispy yet slightly fluffy dosas.
If you use too much urad dal, the batter might turn too fluffy, leading to dosas that are more pancake-like. On the flip side, too little dal and your batter won’t ferment well, affecting the texture. The trick is to get it just right for the taste and consistency you love.
Here’s a quick tip: using the right type of rice is just as important. Most folks prefer idli rice or parboiled rice because these varieties blend well with urad dal during the grinding process. The rice needs to soak up enough water to make the batter smooth, so let it sit for a good 4 to 5 hours.
For those who love a little variety, the 1:3 ratio isn't set in stone. Some home cooks have experimented with a 1:2.5 ratio to adjust for climate, altitude, or personal taste. Feel free to tweak it based on how you like your dosas.
Interestingly, the balance of this ratio aids in maintaining the nutritive value of the dosa. With rice predominantly providing carbohydrates and urad dal offering a boost of protein, this batter is a wholesome package in itself.
| Ingredient | Amount | Purpose |
|---|---|---|
| Urad Dal | 1 part | Fermentation & Fluffiness |
| Rice | 3 parts | Crispiness & Texture |
Remember, the key to a perfect batter lies in sticking to these simple proportions and using quality ingredients. With a little practice, you'll find the sweet spot that suits your taste buds and kitchen conditions.
Soaking Essentials
Okay, so you've got your urad dal and rice, and you're ready to make that dosa batter magic happen. But hold up! Don't just toss them together and call it a day. The soaking process is where it all begins, setting the stage for fermentation and affecting the batter's texture.
Let's start with the rice. You've probably heard this before, but idli rice or parboiled rice should be your go-to. It's soaking time! Rice should be soaked for at least 4-6 hours. It's all about allowing those grains to absorb enough water so they soft up, making grinding easier and the batter smoother.
Meanwhile, your urad dal needs a little special treatment. Soak it for about 3-4 hours. Some folks even add a teaspoon of fenugreek seeds to the dal to help fermentation and give the dosas a hint of flavor. It's like giving a little extra love to your batter right from the start.
- Step 1: Wash the rice and dal separately under running water until the water runs clear.
- Step 2: Place them in separate bowls with enough water, as they will expand slightly.
- Step 3: If you're using fenugreek seeds, add them to the urad dal before soaking.
This careful soaking ensures that when you hit the grinding stage, everything blends smoothly, making your dosa batter easier to ferment and ultimately leading to that crispy, yet fluffy, dosa we all crave. Take your time with this step; it's worth it in the end!
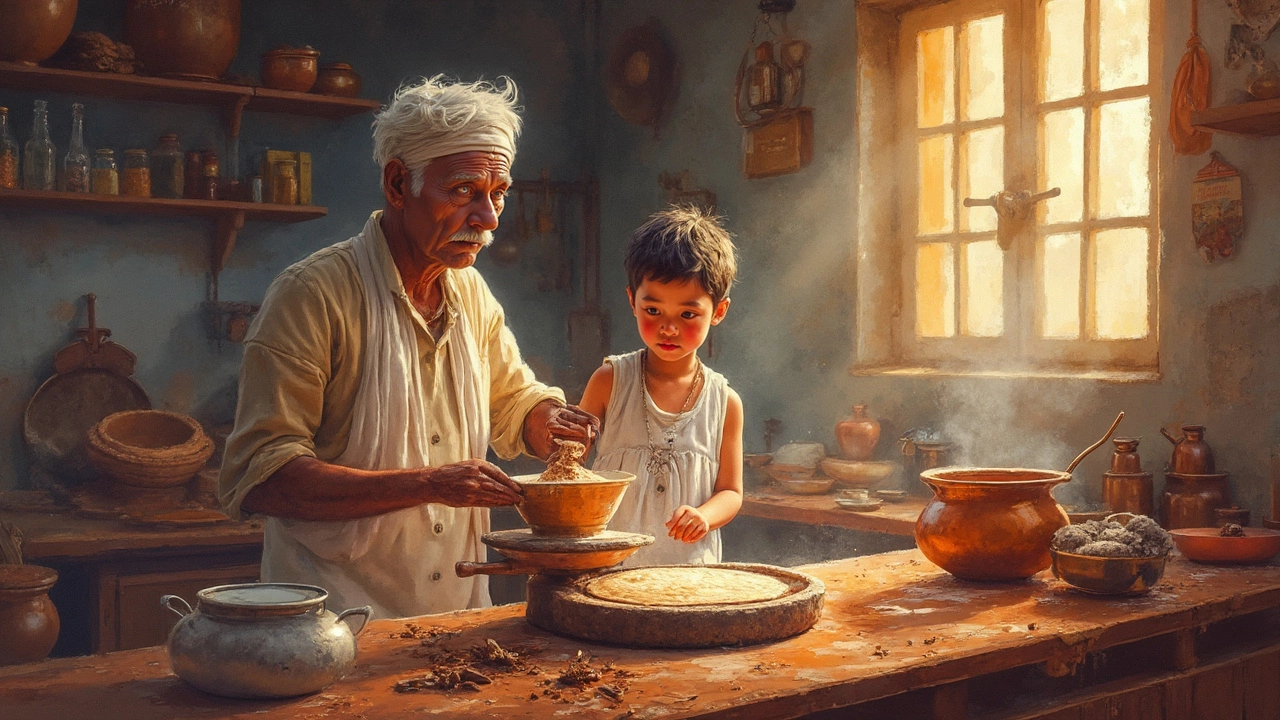
Grinding Techniques
Alright, so you've got your urad dal and rice all soaked and ready. Now, let's talk about the difference that good grinding can make for your dosa batter. Trust me, it's where the magic begins. You’ll want your batter to be as smooth as a toddler’s cheek, but still have a bit of texture.
For the ideal dosa batter recipe, always use a wet grinder if you have one. They’re perfect for this job because they prevent overheating which can affect the fermentation process. First up, drain the soaked urad dal and grind it till it's a smooth paste. You should add little water gradually as you grind; the batter should be light and fluffy. A quick test? If you drop it in water, it should float!
Next, tackle the rice. Grind it separately, and go for a slightly grainy texture. This helps give your dosa that crispy edge. Combine the rice and dal paste, add salt to taste, and let the fermentation work its wonders. Stir the mix well and ensure no lumps remain.
If you're using a regular blender, it's still doable. Just grind in short bursts and allow some time in between to prevent overheating. A gentle nudge mid-way with a spatula can help make everything blend evenly.
Precision here lays the groundwork for awesome dosas later on. Once you get the hang of it, you'll see how these little grinding techniques can boost flavor and texture significantly.
Fermentation Tips
Alright, let's talk about fermenting your dosa batter. This step is like the secret sauce for making dosas with perfect flavor and texture. If you get this right, you're halfway to becoming a dosa pro!
First off, climate plays a huge role. If you live in a warm place, you're lucky—just leave the batter out on the counter for about 8 to 12 hours. But if it's chilly, you might want to keep it in a warm spot like an oven (turned off, of course) with the light on.
Here's the tip: aim for a fluffy and bubbly batter. You can tell it's fermented just right when it rises a bit and you see some bubbles on top. Stir gently, and you're good to go!
- If the temperatures are really low, consider using a fermenting box or setting your instant pot to 'Yogurt' mode if you have one.
- A dash of salt after grinding but before fermentation can help sometimes. But avoid salt if the temperature is questionable.
- If the batter looks like it's not fermenting, adding a spoonful of yogurt might kick things off.
Remember, like many Indian dishes, dosa-making blends science with art. So don't worry if it takes a couple of tries to get it just right. And hey, if you end up with extra batter, toss it in the fridge. It'll keep for a few days, ready for another round of crispy delights.
Troubleshooting Common Issues
Even seasoned cooks face hiccups when making dosa batter. Here’s a quick guide to some common problems and how to fix them.
Dosa sticking to the pan? This can be super frustrating! Make sure your pan is well-seasoned. If it’s a non-stick pan, it should work fine, but for cast iron, a little extra care is needed. Try adjusting the heat—the pan should be hot but not smoking. Always wipe it with a bit of oil before spreading the batter.
Batter not fermenting? Sometimes, even when you follow the perfect urad dal to rice ratio, fermentation doesn’t go as planned. Check the temperature of your kitchen—is it too cold? Try placing the batter in a warm spot, like inside an oven with the light on. Also, be sure you’re using fresh urad dal, as older batches might not ferment well.
Dosas are too thick or too thin? A thick dosa batter can result from too much dal or insufficient soaking. If it’s too thick, add a bit of water to adjust the consistency. For thin dosas, the batter might be too watery, which can be fixed by adding a bit more rice flour to tighten it up.
If your dosas feel a bit bland, a pinch of fenugreek seeds (added while soaking) can enhance flavor and help with fermentation. It's these little tweaks that can make all the difference.
If you often encounter issues, it might help to keep track of what you did each time. Jot down your methods and make small adjustments if needed. Through practice, you'll find what works best in your kitchen, and you'll be flipping those perfect dosas in no time!