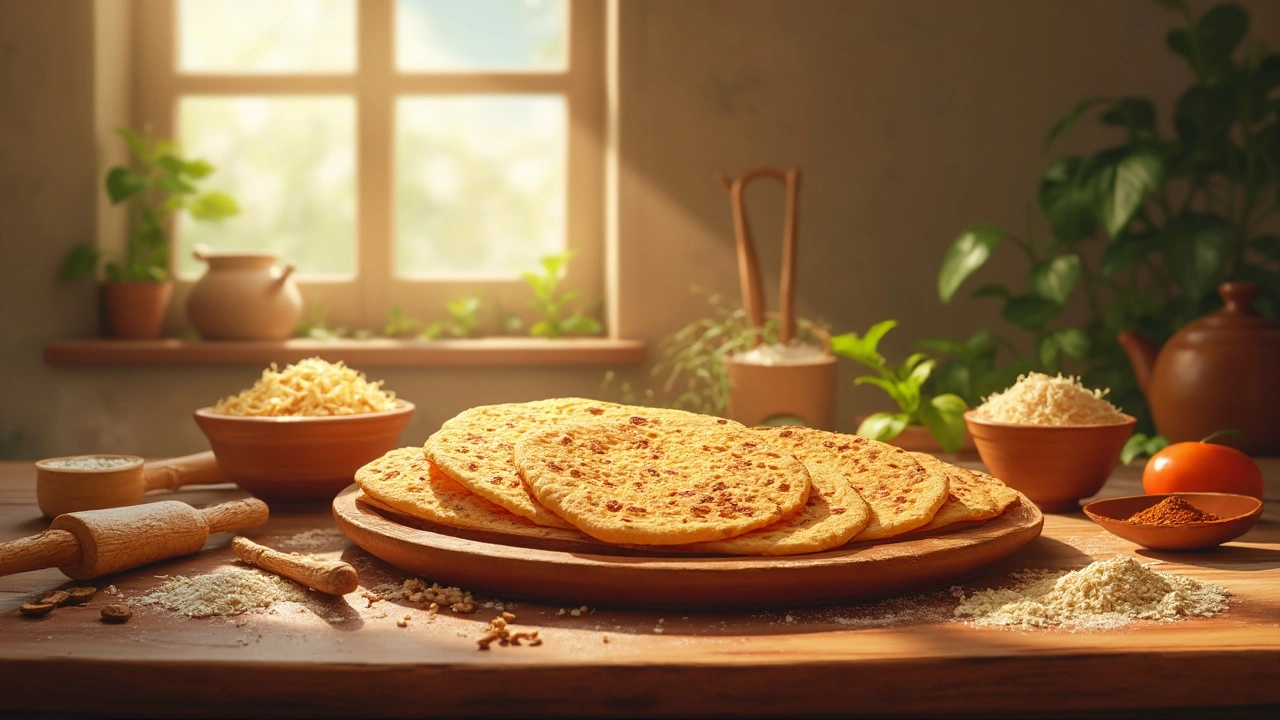
Gluten-Free Rotis: Easy, Fluffy, and Delicious
When working with gluten-free rotis, Indian flatbreads made without wheat, using alternative flours like rice or millet. Also known as GF rotis, they bring the classic roti experience to anyone avoiding gluten. Gluten-free flour, a blend of rice, sorghum, or chickpea flour that mimics wheat’s binding properties is the core ingredient that makes these breads possible. The dough you shape, roti dough, the mixed batter of flour, water, and optional leavening agents, determines whether the final product puffs or stays flat. A pinch of baking soda, a mild alkaline that creates tiny air pockets during cooking can turn a dense circle into a light, airy bite. Finally, the timing of oil, vegetable or ghee added to the dough for softness and flavor decides if the roti stays soft after cooling. Together these elements form a simple system: gluten-free rotis encompass alternative flours, require the right dough consistency, benefit from a leavening boost, and need oil at the optimal stage for texture.
Key Tips for Perfect Gluten-Free Rotis
Getting gluten-free rotis to puff like their wheat counterparts feels like a magic trick, but the science is straightforward. First, choose a flour blend that balances protein and starch; a 2:1 ratio of rice to chickpea flour works for most kitchens. Next, hydrate the dough fully—gluten‑free flours absorb more water, so you may need 10‑15 % extra compared to wheat dough. Let the dough rest for 10‑15 minutes; this lets the starches swell and makes rolling easier. When rolling, dust the surface lightly to avoid sticking, but don’t over‑dust or the roti will dry out. Add a tiny pinch of baking soda (about ¼ tsp per cup of flour) and a splash of lemon juice or vinegar; the acid activates the soda, creating bubbles that help the roti lift. For oil, melt a tablespoon of ghee and fold it into the dough after the rest period; this coats the gluten‑free particles and locks in moisture, preventing the roti from cracking. Cook on a hot, dry tava or skillet—medium‑high heat is ideal. The moment you hear a gentle sizzle, place the roti, let it brown for a minute, then flip. If it doesn’t puff, press gently with a clean towel to encourage steam to escape and lift the surface. These steps turn the common frustration of flat, crumbly rotis into a reliable, repeatable process.
Beyond texture, gluten‑free rotis open up new meal possibilities. They pair perfectly with lentil‑based dals, raitas, or spiced vegetable curries, letting you enjoy a balanced plate without wheat. Because they’re quick to make—often under 20 minutes—you can serve them for weekday lunches or weekend feasts alike. Health‑conscious cooks appreciate the lower glycemic impact of millet‑based blends, while families dealing with celiac disease finally have a staple that feels familiar. In the collection below you’ll find deep dives into why rotis sometimes refuse to puff, how baking soda changes the game, the best moments to add oil, and step‑by‑step guides for mastering gluten‑free flour mixes. Keep reading to unlock practical tips, troubleshoot common problems, and discover recipes that let you enjoy authentic Indian flatbreads any day of the week.
Are Gluten-Free Rotis Lower in Calories?
Are gluten-free rotis really lower in calories than their regular counterparts? Let's explore the calorie content of different types of rotis, including those made with gluten-free ingredients, and see how they stack up. We’ll also offer tips on how you can make informed dietary choices, whether you’re looking to lose weight or manage gluten intolerance.