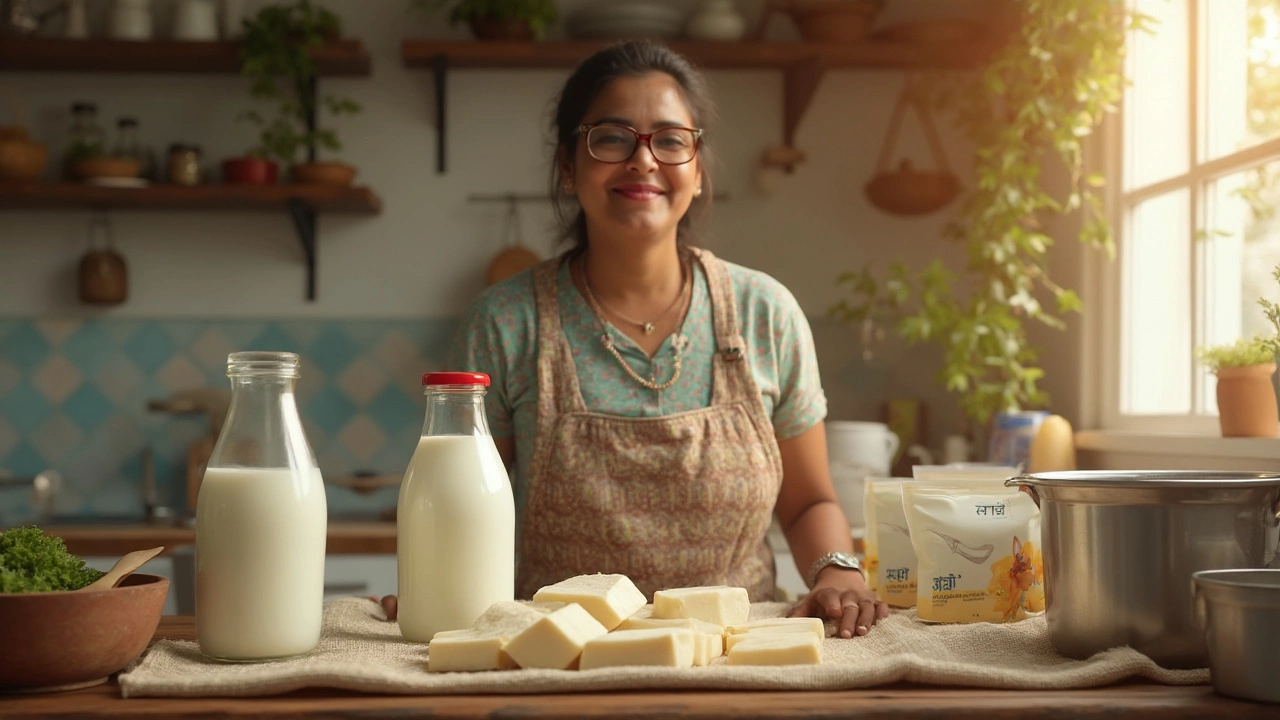
Which Milk is Best for Paneer Making? Key Choices Explained
 Jun, 20 2025
Ever tried making paneer and ended up with a crumbly mess? The milk you pick can make or break the deal. Most people are surprised by how much the type of milk changes everything—the taste, the softness, and even how much paneer you get in the end.
Skip the fancy stuff. You don’t need organic, A2, or some boutique brand. The real game is in the fat content and freshness. Go for full-cream milk—either from a cow or buffalo. That’s what old-school home cooks swear by. You’ll notice the difference in the richness and how easy the curds come together.
If you’ve only got access to store-bought packaged milk, pay extra attention to labels. UHT (ultra-high temperature) milk doesn't curdle like fresh milk, so you’ll just waste your time and money. Always choose fresh, pasteurized whole milk if you’re shopping at supermarkets. Don't fall for skimmed or toned milk; those make a rubbery, dry paneer that no one really likes.
- Milk Options: What's Out There?
- Why Freshness and Fat Matter
- Cow, Buffalo, or Packaged: Which Wins?
- What to Avoid—And Why
- Tips for the Softest Homemade Paneer
Milk Options: What's Out There?
If you’re standing in a grocery aisle or at your local dairy, you’ve got choices. Not every carton or bottle will give you that dreamy, soft paneer. Let’s get real—there’s a big difference depending on the milk you pick.
Here are your main options:
- Cow Milk: Less fat compared to buffalo milk but makes a slightly lighter, softer paneer. Widely available and easy to handle at home.
- Buffalo Milk: More fat, so you get firmer paneer, plus better yield. It’s the go-to in many Indian households and sweet shops.
- Packaged Milk (Toned/Full Cream): Comes in blue or green packets, depending on the brand. Full cream works, but toned or double toned? Your paneer’s going to turn out thin and chewy.
- Raw Milk (Unpasteurized): Gives a rich taste, but you’ve got to boil it fully before curdling. Can sometimes be risky if you’re not sure about hygiene.
- UHT Milk (Long Life): Handy for storing but honestly, useless for paneer. It just doesn’t split properly when you add lemon juice or vinegar.
Cow and buffalo milk are the real winners for homemade cheese. Here’s a quick look at the average fat and protein levels in different types of milk:
| Milk Type | Fat (%) | Protein (%) |
|---|---|---|
| Cow (whole) | 3.5–4 | 3.1–3.6 |
| Buffalo (whole) | 6–8 | 4–4.5 |
| Packaged Full Cream | 6 (varies) | 3–3.5 |
| Toned/Double Toned | 3–4/1.5 | 3/3 |
| UHT | Varies | Varies |
According to chef Sanjeev Kapoor, “The quality of milk is directly related to the texture of paneer. Use milk that’s as fresh and as full-cream as possible for the best results.”
“The kind of milk you use will decide if your paneer comes out soft and crumbly, or rubbery and bland.” — Chef Sanjeev Kapoor
Next time you wonder which carton to grab, just remember: high fat, high protein, and the fresher the better. That’s the winning combo for soft paneer every single time.
Why Freshness and Fat Matter
If you’re aiming for paneer that’s soft, creamy, and holds together without being rubbery, you really can’t ignore how fresh or fatty your milk is. Here’s the simple truth—paneer is mostly milk with a splash of lemon or vinegar, so if your main ingredient isn’t up to the mark, the final product won’t be either.
Fresh milk tends to curdle quickly and evenly, giving you a cleaner break between curds and whey. With older, processed, or long-life milk, you risk ending up with grainy or tough pieces that just don’t taste as good. Local dairies usually sell milk that’s less than a day old, and that’s often why their paneer tastes so much richer than what you make with supermarket cartons.
The fat content is just as crucial. For every liter of full-cream milk, you’ll get more paneer—and a better texture—than from toned or skimmed milk. If you want numbers, check out this straightforward table:
| Milk Type | Average Fat (%) | Paneer Yield (grams per liter) |
|---|---|---|
| Full-Cream Cow Milk | 3.5-4% | 180-200g |
| Buffalo Milk | 6-8% | 210-250g |
| Toned Milk | 3% | 120-140g |
| Skimmed Milk | 0.5-1.5% | 80-100g |
Notice how the yield drops almost by half if you use skimmed milk instead of buffalo milk. And low fat also means dry, crumbly paneer that rarely soaks up curries the way you want.
If you’re buying milk from the store, always check the packaging date and fat percentage. For the best paneer, choose the newest, creamiest milk you can get your hands on. Making it a habit to check this pays off every single time.
- Use milk that’s as fresh as possible, ideally within 24-36 hours from milking.
- Always pick full-cream or buffalo milk for richer results.
- Try to avoid milk that’s close to expiry or has been stored for days in the fridge.
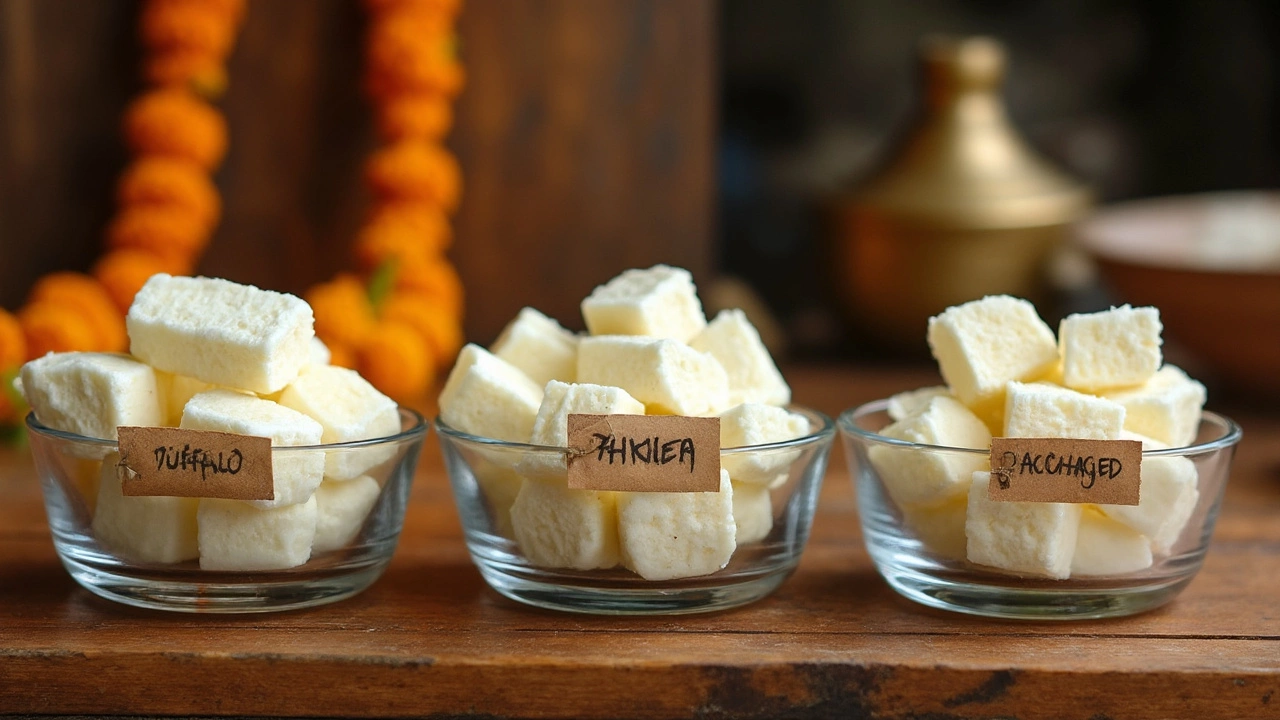
Cow, Buffalo, or Packaged: Which Wins?
This is where things get interesting. Each milk type brings something different to the table. If you're after soft and crumbly paneer like you find in most North Indian homes, cow milk is your best bet. It's got moderate fat and makes paneer that's easy to slice, a bit on the lighter side, and absorbs flavors well—super handy for curries like matar paneer or palak paneer.
Buffalo milk goes in a different direction. It’s way richer. In fact, buffalo milk has nearly twice the fat of typical cow milk. That means your paneer will be dense and creamy, perfect for sweets like rasgulla or when you don’t want any breaking while frying. But keep in mind, it’s also heavier and more filling, so you get less paneer for the same amount of milk compared to cow milk.
Now, about packaged milk: it can be a hit or miss. If it’s fresh, full-cream, and just pasteurized—not UHT treated—it’ll work pretty decently. But UHT or long-life milk? That stuff barely curdles, or if it does, you’re left scraping bits instead of scooping up nice, fat curds. Always check the label and pick ‘full-cream’ for best results.
Here’s a quick comparison to help you figure it out at a glance:
| Milk Type | Average Fat % | Paneer Texture | Best For |
|---|---|---|---|
| Cow | 3-4% | Soft, crumbly | Curries, stir-fries |
| Buffalo | 6-8% | Dense, creamy | Sweets, grilling |
| Packaged Full-Cream | 3-6% | Varies (best with fresh) | All uses, if fresh |
| Packaged UHT | 3-6% | Poor, rubbery or sparse | Not recommended |
For best results, always bring milk to a gentle boil and make sure it’s not diluted. If you get fresh cow or buffalo milk from a delivery service, use it within a day or two for a higher paneer yield and the smoothest texture.
What to Avoid—And Why
If you want seriously good paneer, there are some troublemakers you just can't ignore. Let’s call out the big offenders so you don’t waste your time—and money.
- UHT (Ultra-High Temperature) Milk: Don’t even bother. This kind of milk has been boiled at super high temps to increase its shelf life, but it messes up the proteins. When you try curdling it, you’re left with tiny bits that won’t join together. The result? Barely any paneer, and what you do get is dry and rubbery.
- Skimmed or Toned Milk: These sound healthy on the box, but they’re weak for paneer. Most of the fat, which gives paneer that soft, rich bite, is gone. You end up with grainy pieces that hardly stick. You need that creamy layer to get soft, moist cubes.
- Flavored or Sweetened Milk: Never use these. They can change the taste of your paneer in weird ways—think vanilla or chocolate flavored cheese. Also, the sugar can stop the milk from curdling properly.
- Old or Spoiled Milk: Trying to use up that leftover milk that’s past its prime? Don’t. Spoiled milk smells bad and gives your paneer an off taste. It can even affect how well your milk curdles, leaving you with less yield and gritty curds.
A lot of folks also think plant-based milks (like almond or soy) can make paneer—won’t happen. True paneer only comes from animal milk proteins and fat. Stick to full-cream, fresh, dairy milk for the best outcome every time.
A quick tip: Aim for milk that hasn’t been reconstituted from milk powder. Those are common in tetra-packs or lower-cost brands. The texture is just not the same, and your *paneer* will break or turn rubbery.

Tips for the Softest Homemade Paneer
If you’re going for that perfect, pillowy paneer, it’s not just about the milk—it’s about what you do with it. A few key moves can totally change your results, even with the exact same ingredients. Here’s what you really need to know.
- Full-fat milk is the secret weapon. Don’t even try with skim or low-fat; they simply don’t have enough creaminess for soft, melt-in-the-mouth paneer.
- Always bring milk to a near-boil—just until bubbles form at the edge. Don’t let it go into a rolling boil, or the curds will turn stiff and rubbery.
- Add your acid (lemon juice or vinegar) slowly while you gently stir. This helps the curds form evenly, so you won’t get coarse lumps.
- Once the milk splits and curds show up, kill the heat immediately. Overcooking at this stage is the fastest way to get chewy, tough paneer.
- Wash the curds well in cold water right after draining. This step washes off the acidic flavor and cools them down, stopping the cooking.
- Don’t rush to squeeze out every drop of water. More moisture means softer texture. Just hang it up for 30–40 minutes. No need to press under a heavy weight unless you want firmer paneer for frying.
Here’s a simple table to show the impact of different milk types on paneer yield and texture:
| Milk Type | Yield (per liter) | Texture |
|---|---|---|
| Full-cream Buffalo Milk | 220g | Very soft, creamy |
| Full-cream Cow Milk | 180g | Soft, light |
| Toned Milk | 120g | Dry, crumbly |
If you’re making big batches, use a muslin cloth for easy draining. And just a heads up—never use UHT milk, because it just won’t curdle right, no matter what you do. These tweaks can make the difference between store-bought texture and that awesome, fresh homemade feel. Try a side-by-side test sometime and you’ll see how much it matters.