Best Time to Add Oil in Roti Dough: Tips for Fluffy Rotis Every Time
 Jun, 27 2025
Ever struggled to make rotis that turn out just like your mum’s or that auntie everyone talks about? You know what I mean—those perfectly soft, cushing up, almost cloud-like rotis you can't stop eating hot off the tava? There’s a simple detail many home cooks debate: when to actually add oil to the dough. Get this wrong, and your roti dreams can go flat (literally). Get it right, and you’ll have neighbors dropping by at mealtime, hoping you’ve made extras. Let’s get straight into the nitty-gritty of this kitchen secret.
Why Oil Matters in Roti Dough
Adding oil to roti dough isn’t just some fancy step you can skip. It transforms how the dough feels, rolls out, cooks, and ultimately—the taste. Oil works by coating flour particles, cutting down on gluten over-development. Imagine poking a pillow—the more air and lightness, the better. The same logic applies to your chapatis. A bit of oil means your dough feels smooth, rolls without cracks, and puffs up beautifully on the tawa.
Think about hydration too. Water hydrates the wheat flour, but oil acts as a moisture lock, so your rotis stay soft longer. Ever noticed how rotis at restaurants stay soft for hours, while homemade sometimes get chewy or stiff within minutes? That's the oil at work. Smaller tea stalls in Mumbai, where I live, often use a measured amount of oil to keep rotis soft for longer, serving hundreds of hungry office-goers, and you’ll see that stack remains pliable. This isn’t a hack; it’s just clever kitchen science—something that’s been passed down in Indian homes for generations.
Different oils make a difference too. You can use ghee, sunflower oil, or even neutral vegetable oil. Ghee gives extra richness (best for festive meals), sunflower or vegetable oils keep the dough light and neutral. Around Diwali, my wife Anika always insists on a dollop of homemade ghee in her roti dough—she claims it locks in extra flavor, and honestly, I never argue with results that melt in the mouth.
So if you’ve been mixing your dough with zero fat, you’re losing out on softness, pliability, and, let’s face it, that signature homemade roti aroma. Even a half teaspoon makes a difference.
Three Approaches: When Should You Add Oil?
There are three main schools of thought about when to put oil in roti dough, and trust me, I’ve tried them all. Let’s break them down so you can choose what works in your kitchen.
- Before Mixing Water (Fat-Shortening Method): Some chefs blend oil directly with the dry flour before adding water. That’s the classic method for parathas and puris—oil coats each particle of flour, shortening the gluten bonds from the very start. The texture will be flakier, great if you like layered rotis or the Malabar style.
- While Kneading (Mid-Way Addition): Plenty of home cooks, including my mother-in-law, add oil halfway through kneading. She starts by mixing flour and water, then midway, splashes a tablespoon of oil and folds it in. This method allows gluten to develop with water but not go overboard, and the oil then smooths things out for a super-soft dough.
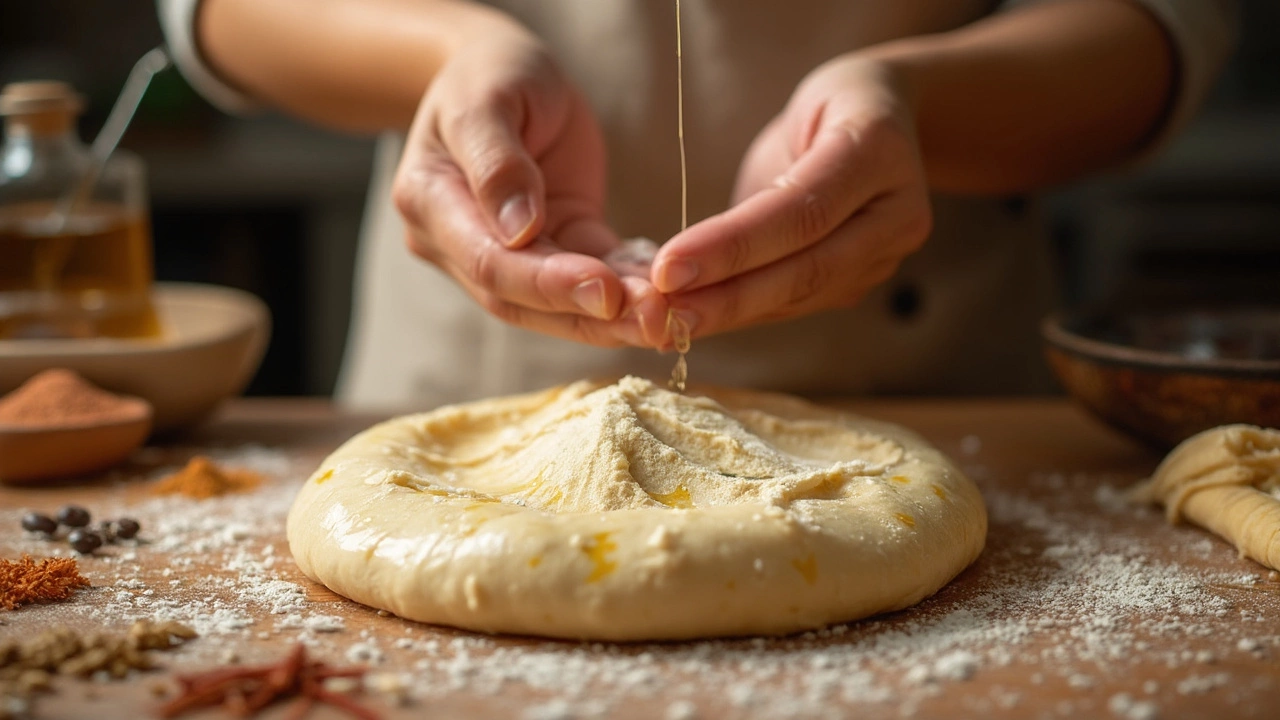
- After Kneading (Finishing Touch): Others finish kneading their dough, then rub oil over the ball before letting it rest. This doesn’t get oil deep in the dough, but it still locks moisture in and creates a lovely, uncracked surface. Good for basic everyday rotis when you’re in a hurry.
When I make rotis for Neerav’s lunchbox, I usually knead with a little oil added midway and rub a touch more on top before resting. That combo keeps them soft till tiffin time. So, what works best? If you’re after oil in roti dough for ultra-soft, flexible results, do it mid-knead—right after your dough has just come together and before the final five minutes of kneading.
Curious what the experts say? Indian chef Sanjeev Kapoor once joked,
"Add oil to your dough only after you’ve got your hands in it—otherwise, the flour feels ignored!"Whether joking or not, the advice stands: oil halfway through makes a difference.

Small Details, Big Difference: Roti Dough Science and Tips
Ever noticed your dough “drinks” more water on a humid day and feels dry in winter? That’s because wheat flour can be unpredictable depending on local weather, the grind, and even storage. Mumbai’s humidity makes my dough softer, so I sometimes use less oil in monsoons and a touch extra during our short, dry winters.
But don’t stress about getting scientific. Here’s a handy table for quick guidance based on what type of roti or flatbread you’re making:
| Type | Oil Amount per 2 cups Flour | When to Add | Texture Outcome |
|---|---|---|---|
| Basic Chapati | 1 tsp | Mid-knead | Soft, pliable |
| Paratha | 2 tbsp | Before water | Flaky, layered |
| Puri | 1 tbsp | Before water | Firm, puffs well |
| Homemade Naan | 2 tsp | Mid-knead | Chewy, airy |
Here are my everyday tricks to help your dough become its best self:
- Rest your dough for 20-30 minutes after kneading, always. This gives the gluten a chance to relax and absorb the oil fully.
- Use warm water instead of cold. Warmth helps proteins swell, and the dough turns easier to handle.
- Don’t overdo the oil. Too much and you get greasy chapatis that never puff.
- Cover your resting dough with a damp cloth so you don’t lose precious moisture.
- Add a pinch of salt with the oil—flavor goes a long way!
I’ll confess: before learning these tricks, my rotis were more like frisbees. Now, even my mother-in-law admits mine are "chewy but never rubbery," which is the kind of backhanded compliment you value.
Step-by-Step: The Perfect Roti Dough
If you want to nail the process, here’s my trusted kitchen routine—perfect for Sunday brunch or those weeknights you want things just right. No mysterious techniques, just actionable steps for next-level rotis.
- Start with 2 cups of fresh atta (whole wheat flour) in a wide bowl. Make a little well in the center.
- Add 1/2 tsp salt if you use it. Mix the dry ingredients gently.
- Slowly pour in 3/4 cup of warm water, bit by bit, mixing as you go. Bring the dough together with your fingers.
- Once a crumbly mass forms, add 1 teaspoon of oil or ghee—right in the middle—and get your hands back in the bowl.
- Knead for 7-10 minutes. The dough should turn soft, elastic, not sticky. If dry, splash water. If too wet, sprinkle flour.
- Finish by rubbing 1/2 teaspoon more oil over the surface. Cover with a damp cloth and rest for at least 20 minutes.
- Once rested, divide into small equal balls and proceed to rolling and cooking.
My secret: I sometimes sneak in a few drops of oil when rolling out each ball—makes the edges thinner and the whole roti lighter, especially if you’re making larger rotis for stuffing. If you’re new to rotis, don’t get discouraged if you mess up the first few. You’ll hit your stride as your hands remember the feel of the dough.
Making perfect rotis isn’t about fancy equipment or imported ingredients. It just comes down to understanding when, how, and how much oil you use. Try my approach tonight and see how your family reacts. If your five-year-old (like Neerav) asks for “one more roti please,” you know you’re on the right track.