Does Baking Soda Make Roti Soft?
 Feb, 11 2025
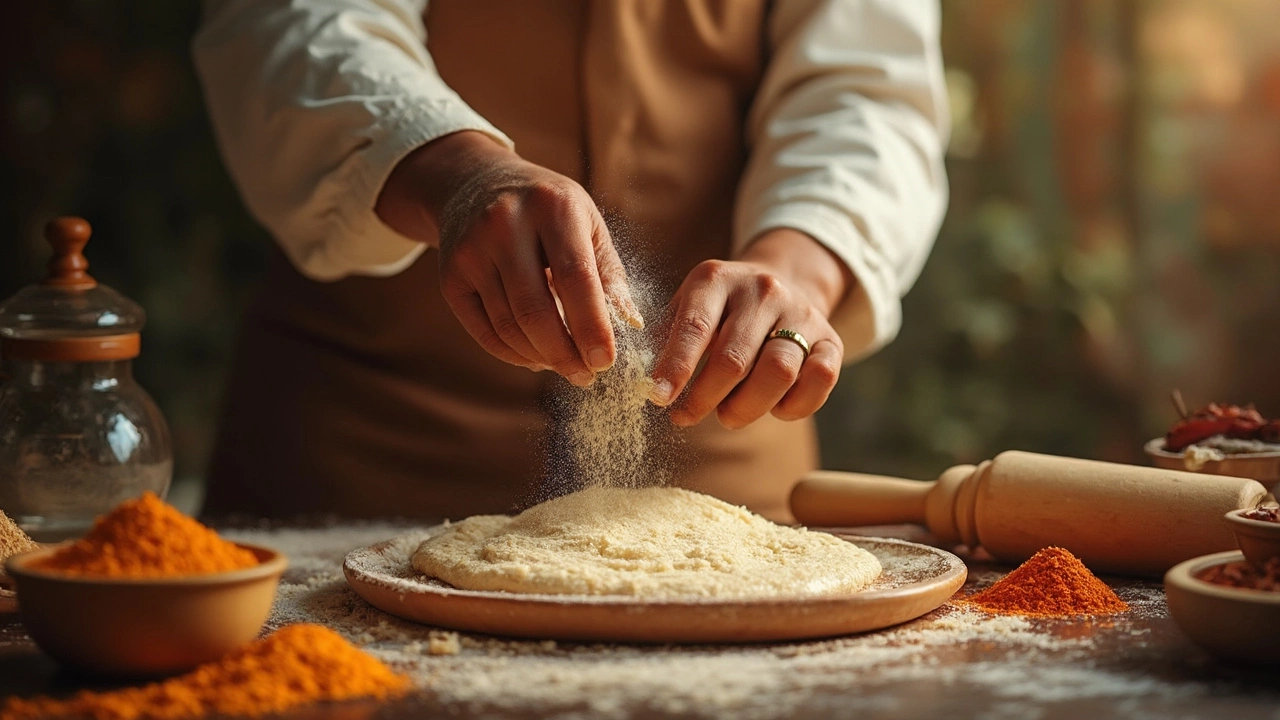
So, you're eager to whip up some soft and fluffy rotis, and you've heard whispers that baking soda might be the secret weapon. But does it really do the trick? Let's unravel this mystery together, starting with a little kitchen chemistry.
Baking soda, or sodium bicarbonate, is a leavening agent. It's the stuff that makes your favorite pancakes rise and get all fluffy. But when it comes to roti, things could get a bit tricky. Roti, as you might know, doesn't usually have yeast, so it relies on the right kneading and resting technique to get that soft texture.
Now, adding a pinch of baking soda to your roti dough can introduce tiny air pockets, making it lighter. However, overdoing it can alter the taste, and nobody wants a soapy flatbread. So, it's a balancing act.
Roti Nutritional Calculator
About Roti
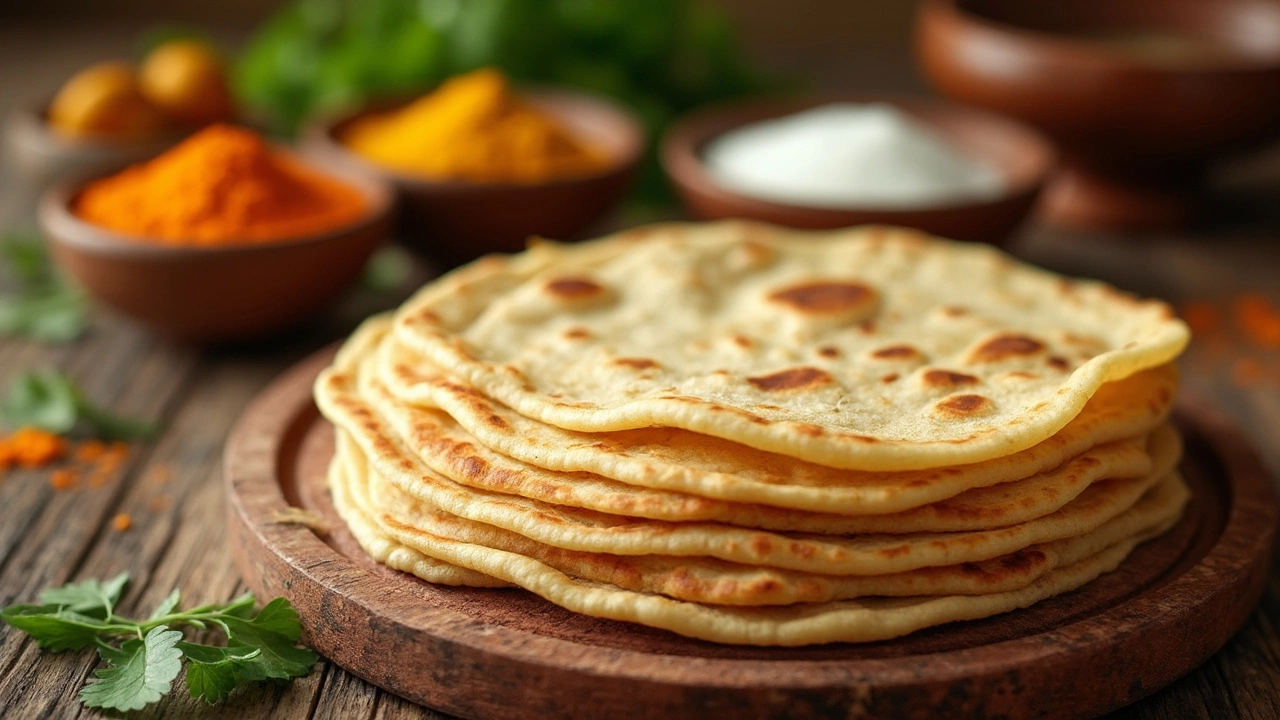
Roti is a round flatbread originating from the Indian subcontinent, made from stoneground wholemeal flour. It is a staple food in many countries including India, Pakistan, Nepal, Sri Lanka, Singapore, Maldives, Malaysia and Bangladesh.
The nutritional content of roti varies based on the type of flour used, size, and whether any fat (like ghee or oil) is added during preparation.
- The Science of Baking Soda in Dough
- Experimenting with Ingredients
- Step-by-Step: Making Soft Roti
- Alternative Methods for Softness
- Common Mistakes to Avoid
The Science of Baking Soda in Dough
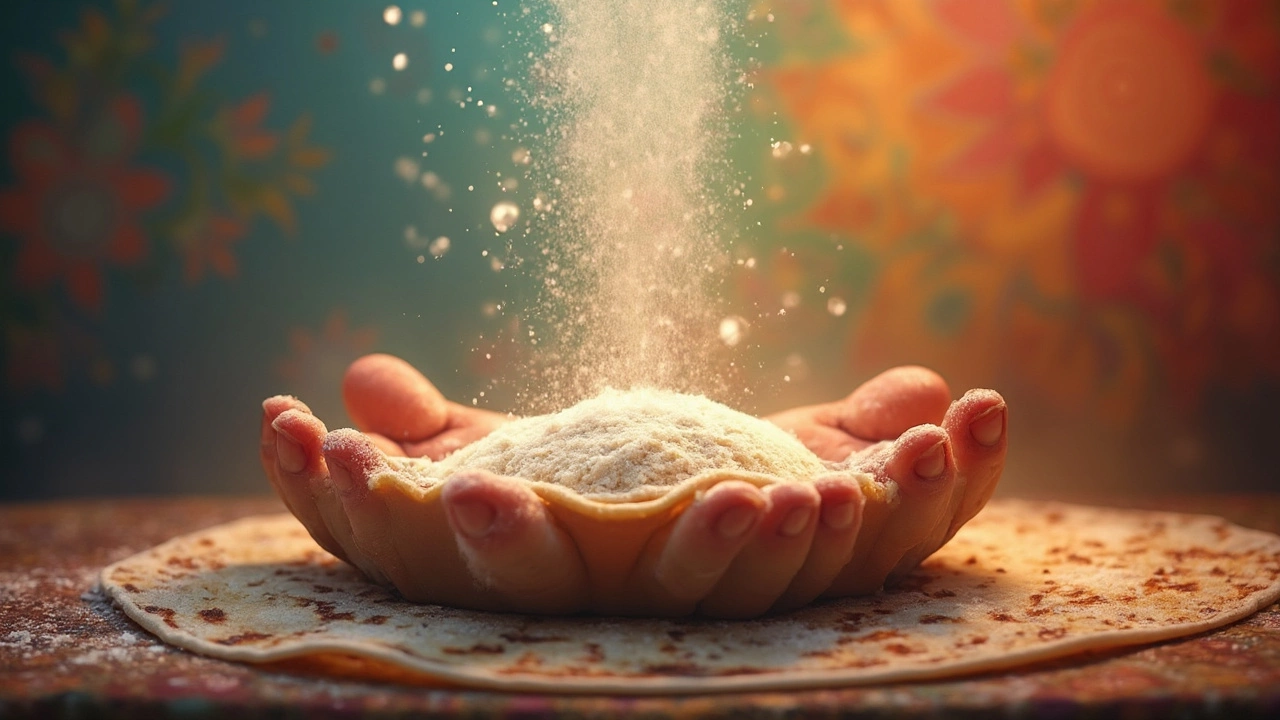
Let's dig into how baking soda works in your dough. Picture those delicious bubbles in your fizzy drink. That fizz is caused by carbon dioxide gas, which is exactly what baking soda releases when it reacts with an acid. So, when you add it to your roti dough, you're essentially creating tiny air pockets that can make the dough puffier and, hopefully, soft.
Here's the science bit, but don't worry, it's not rocket science. Baking soda needs an acid, like lemon juice or yogurt, to get it going. When mixed with moisture and heat, it creates that gas-release party we talked about. This isn't usually part of a traditional roti recipe, which is why using it requires some experimentation.
Understanding Proportions
It's all about balance. Too much baking soda, and you could end up with a soap-flavored bread. Too little, and you'll wonder why you bothered at all. The golden rule is to be stingy at first. Start with just a pinch, less than what fits on your fingernail for a single batch. You can always adjust the next time you make them.
Does Baking Soda Really Help?
People seem to be split on this. Some say it adds nothing to their soft roti; others swear by it. A small experiment you can try: split your dough and add this magical ingredient to one half. See which batch turns out better. Remember, it's just one factor. Kneading technique, resting time, and even the type of flour used can all affect the softness of your roti.
Experimenting with Ingredients
When it comes to making soft roti, the flour you use plays a huge role. Most folks stick with whole wheat flour, known as "atta." It’s not only traditional but also brings out that nice earthy flavor we all love. But hey, it's your kitchen, and experimenting is half the fun!
Baking soda is just one element you might consider, but there’s more to it. Let's break down how you can tinker with different ingredients to get that soft texture.
Milk and Yogurt Magic
Want a really soft roti? Try swapping water with milk or even yogurt in your dough mix. Milk adds richness, while yogurt can give a slight tang and keep the roti moist. Both are worth a shot if you’re aiming for a pillowy texture.
Mix in Some Oil or Ghee
Add a tablespoon or two of oil or ghee to your dough. This fat makes a huge difference in the softness. It acts by coating the flour proteins, which helps with gluten formation, ultimately keeping your roti tender.
The Baking Soda Gamble
A pinch of baking soda can indeed help lighten things up. Just remember, we're talking a small pinch—no more than 1/8 teaspoon per cup of flour should do it. This tiny addition can create those sought-after air pockets. But be cautious, as overdoing it can result in a funky taste.
Adding Boiling Water
Here's a surprising tip: using boiling water might just be the trick to enhance softness. It helps the starch in the flour gelatinize faster, which contributes to a softer texture. But be careful, the dough will be super hot initially, so handle it gently.
Have some fun mixing and matching these ingredients on your quest for the perfect soft roti. It’s all about discovering what works for your taste and texture preference. And remember, practice makes perfect, so don’t hesitate to experiment until you find your go-to recipe!
Step-by-Step: Making Soft Roti
Alright, let's dive into making those soft, pillowy rotis you've been dreaming about. It's simpler than you think, and with a bit of practice, you'll have them fluffing up just right.
Ingredients You’ll Need
- 2 cups of whole wheat flour
- Water (about 3/4 cup, but as needed)
- 1 teaspoon of oil or clarified butter (ghee)
- A pinch of salt
- Baking soda (optional, just a pinch!)
Mixing the Dough
- In a large bowl, start by mixing the flour and a pinch of salt.
- If you’re feeling adventurous, add a tiny pinch of baking soda to the mix. Just remember, less is more here!
- Gradually add water and begin to knead. Aim for a soft and slightly sticky dough. You can always sprinkle a bit more flour if it's too sticky.
- Add the oil or ghee for some added softness and flavor.
Let It Rest
Patience is key. Cover the dough with a damp cloth and let it rest for at least 15-20 minutes. This helps the gluten relax, making your rotis softer.
Rolling It Out
- Divide the dough into small balls, about the size of a lime.
- Flatten each ball lightly and dust with some flour to prevent sticking.
- Roll them out gently, aiming for even thickness and trying to keep them round.
Cooking Time
- Heat a tawa or flat pan on medium-high heat. It needs to be hot before you add the roti.
- Place the rolled dough on the hot tawa. Wait for small bubbles to appear.
- Flip the roti after about 30 seconds. Press gently with a cloth or spatula to puff it up.
- Cook until golden brown spots appear on both sides.
Final Tips
- Smear some ghee on the hot roti to keep it moist and enhance the flavor.
- Keep the cooked roti in a covered container to retain softness.
Now, you're ready to enjoy fresh, soft rotis! Pair them with your favorite curry, and you've got yourself a meal. Practice makes perfect, so keep at it, and soon you'll be a roti-making pro.
Alternative Methods for Softness
If baking soda isn't your weapon of choice for achieving soft roti, don't worry—there are other tricks up your sleeve. Let's explore a few alternative methods that can ensure your rotis are as soft as you like.
The Warm Water Trick
Replacing cold water with warm water while kneading can work wonders. The warmth helps relax the gluten, which makes your rotis softer and easier to roll out. Make sure the water isn't too hot—just comfortably warm to the touch.
Dairy Delight
Adding a dash of milk or a dollop of yogurt to your dough can provide extra fat, which in turn softens the texture. This adds a subtle richness, a trick often used in Indian households.
Oil or Ghee for Extra Softness
Incorporating a spoonful of oil or ghee into your dough can make a noticeable difference. This fat coats the flour particles and results in a flaky yet soft outcome.
- Ingredients: A tablespoon of oil or ghee for every cup of flour.
- Method: Mix it in well before adding water, and continue as usual.
Getting the Resting Right
Allowing the dough to rest is crucial. A good 20-30 minutes resting period after kneading helps with gluten formation, keeping the rotis soft and pliable. Some even swear by overnight resting in the fridge!
Split the Kneading Process
Instead of kneading once, try a resting-kneading-resting approach. Start kneading until the dough just comes together, rest it for ten minutes, knead again, then another short rest before rolling out.
Watch the Cooking Temperature
An oft-overlooked factor is your cooking temperature. Ensure your tawa is hot but not smoking, so the roti cooks evenly without drying out. A quick flip-flip approach can also prevent losing too much moisture.
If you're into experimenting or want a quick-reference guide, here's a nifty table summarizing these methods:
| Method | Benefits | Notes |
|---|---|---|
| Warm Water | Relaxes gluten | Keep it warm, not hot |
| Milk/Yogurt | Adds richness | Use sparingly |
| Oil/Ghee | Creates flakiness | Mix well into dough |
| Resting | Improves texture | Don't skip! |
| Controlled Heat | Even cooking | Keep the surface hot |
These tips and tricks, combined with a bit of practice, will have you serving up irresistibly soft rotis that will win over every dinner guest.
Common Mistakes to Avoid
Making soft and chewy rotis is easier said than done. Even seasoned cooks face hurdles. So, if you find yourself stuck with hard, unyielding bread, don't worry. You're not alone. Let's talk about the most common pitfalls and how to dodge them.
Too Much Water or Flour
Striking the right balance in your dough is key. Using too much water can make your dough sticky, while adding excess flour might result in hard rotis. Aim for a dough that’s smooth and pliable, not too tight and not too sticky.
Not Enough Kneading
Kneading the dough helps develop the gluten, which is crucial for achieving a soft texture. Spend at least 10 minutes kneading your dough till it's smooth and elastic - it’s well worth the effort for the perfect soft roti.
Skipping the Rest Period
The resting period allows the gluten to relax, making the dough easier to roll out and cook. Let your dough rest for at least 20 to 30 minutes, wrapped in a damp cloth. This ensures the roti stays soft and pliable.
High Heat Cooking
While it might be tempting to crank up the heat for faster roti cooking, this can lead to burning on the outside and undercooking on the inside. Start with a medium-high flame, and adjust as needed. Keep them on the heat just long enough to see those light brown spots.
Ignoring the Pan
Believe it or not, the type of pan you use can affect your soft roti. A heavy-based pan distributes heat evenly, preventing those annoying burnt spots. Make sure your pan is properly heated before you start cooking.
By ducking these common mistakes, you’re on your way to making better, softer rotis. Happy cooking!