Is Adding Yeast to Dosa Batter a Game Changer?
 Feb, 12 2025
When it comes to making dosas, sticking with tradition is usually the way to go. But what happens when you throw yeast into the mix? Some folks swear it’s a magic ingredient that makes dosas softer and faster to prepare. Yet, there are plenty who hesitate, fearing it might compromise the authentic taste.
Traditional dosa batter relies on a natural fermentation process involving urad dal and rice. This process not only affects the taste but also the texture, giving dosas their signature tangy flavor and crispy edges. But let's face it, sometimes waiting around for batter to ferment isn't really practical in our busy lives.
Yeast, a common ingredient in bread-making, can speed things up. It essentially accelerates fermentation, cutting down on waiting time. However, the trick lies in the balance. Too much yeast can overpower the flavors that dosa lovers cherish, turning the experience into something more akin to a pancake feast.
- The Traditional Method
- Yeast: The Modern Twist
- Pros and Cons of Using Yeast
- Maintaining Flavor and Texture
- Alternatives to Yeast
- Tips for Perfect Dosas
The Traditional Method
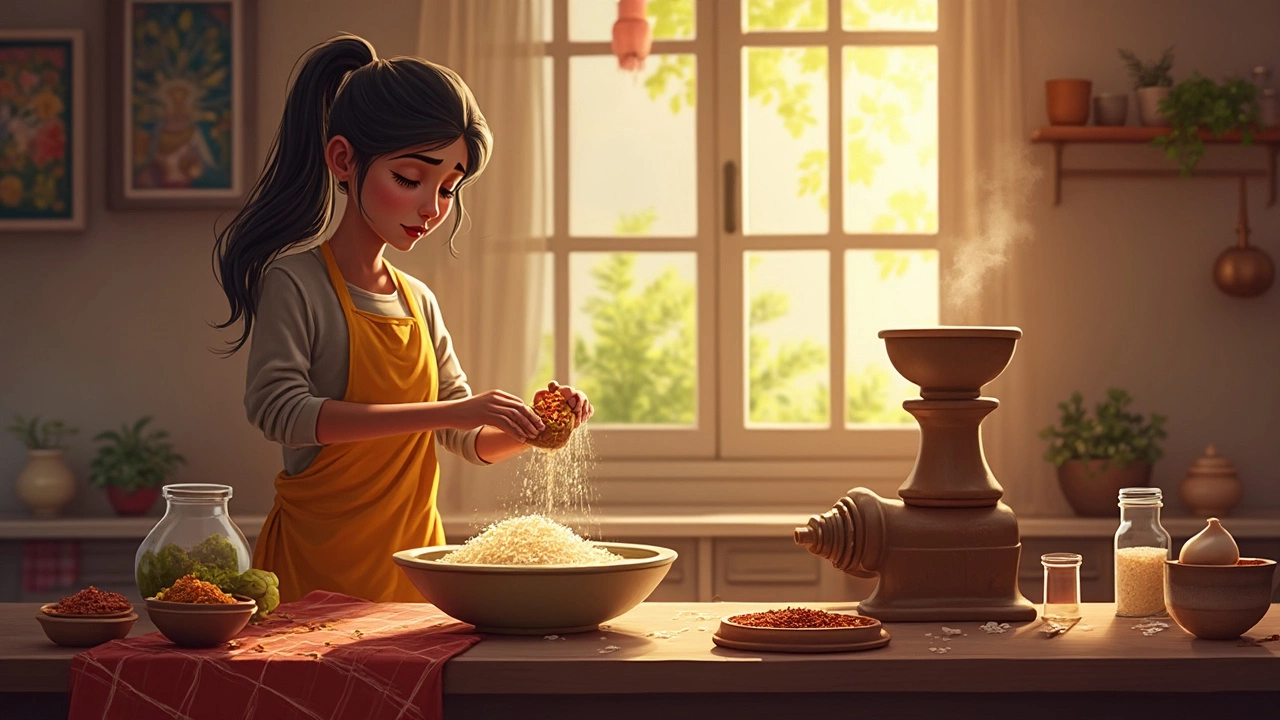
Making dosa batter from scratch is practically an art in many Indian households. The traditional way involves just two key ingredients: rice and urad dal, also known as split black gram. Sounds simple, right? But the magic happens during fermentation, which makes or breaks the quality of a dosa.
The process usually starts by soaking rice and urad dal separately in water for about six hours. Post-soaking, they are ground to a smooth, yet slightly coarse, consistency using a wet grinder—a must-have in many kitchens if you're serious about dosas. A regular blender can work too, but it might not give you the same results.
After grinding, both mixtures are combined and left to ferment overnight. Now, fermentation time isn't set in stone; it depends on your local climate. Warmer places might have the batter ready in 8 hours, while cooler climates could take a full day. Keep that mixture in a warm place and let nature do its thing!
The Science Behind Fermentation
So, why do we even ferment the dosa batter? Well, it not only leavens but also infuses it with a slight tangy flavor that balances out the nuttiness of rice. Plus, it breaks down complex carbohydrates, making the dosas more digestible. It's like your batter breathes life overnight—quite the transformation!
Mastering fermentation is a skill that comes with practice. You'll likely need to experiment with the rice to dal ratio, water content, and fermentation time to hit the sweet spot. The classic ratio is around 3 parts rice to 1 part dal, but feel free to adjust based on your taste preferences.
Yeast: The Modern Twist
So, why are people adding yeast to dosa batter anyway? It's simple: convenience. Traditional fermentation can take anywhere from 8 to 12 hours, and even then, you’re not always guaranteed perfect results. By adding yeast, you can cut this down to just a couple of hours, which is a game-changer for busy folks.
Yeast works by eating up sugars and producing carbon dioxide and alcohol, which accelerates the rise of the batter. This is pretty much what traditional fermentation does but at a much faster rate. However, this quick method doesn’t just bring speed; it influences texture and flavor.
Is It All Good News?
Of course, not everything's perfect in the world of yeast-enhanced dosas. Many purists argue that the taste of yeast-fermented dosas doesn't quite match the depth of flavors you get from the traditional method. As renowned chef Shashi Pillai once said:
"Yeast may speed up the process, but it never quite replicates that unique, tangy flavor of a naturally fermented dosa."
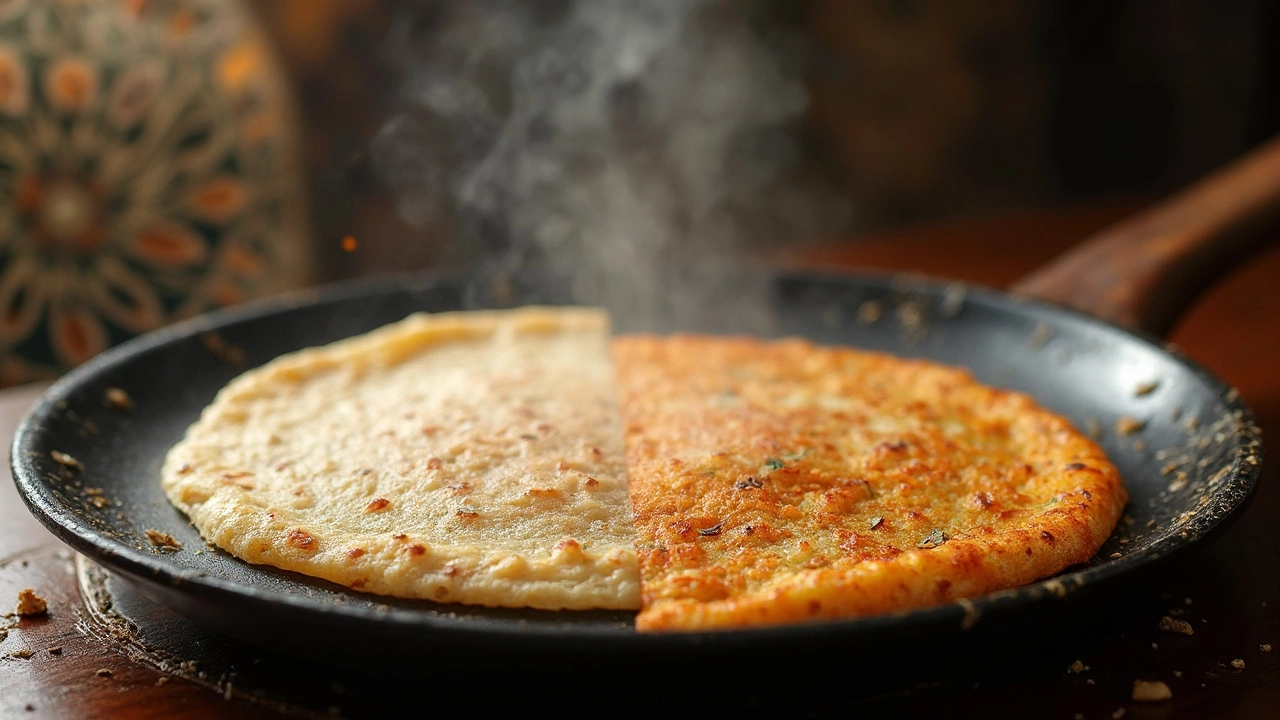
On the other hand, if you’re someone who likes a slightly softer dosa, yeast might be your new best friend. The dosas turn out fluffier but are less crispy around the edges. So it's a bit of a trade-off.
Using Yeast Correctly
If you decide to take the yeast route, there are a few guidelines to keep in mind. Use only a small amount, usually a quarter teaspoon for a standard batch. Let the batter rest for about 2 to 3 hours in a warm place. Watch it transform into a frothy concoction ready for the skillet.
And hey, trial and error is part of the fun when you’re in the kitchen. You can always experiment with different types of yeast, like instant or active dry, to see which works best for your taste buds.
| Aspect | Traditional Method | Yeast Method |
|---|---|---|
| Fermentation Time | 8-12 hours | 2-3 hours |
| Flavor | Rich and tangy | Mild |
| Texture | Crispy | Softer |
Pros and Cons of Using Yeast
Deciding whether to add yeast to your dosa batter really depends on what you're looking for in your dosas. Let’s break it down.
Pros
- Speedy Fermentation: One big advantage of using yeast is that it speeds up the fermentation process. Traditional methods take 8 to 12 hours, but with yeast, you can cut this down to as little as 1 to 2 hours.
- Consistent Results: Yeast can be more predictable than wild fermentation, especially handy if you live in a place with unpredictable weather conditions.
- Improved Texture: When done right, yeast can help achieve a light and fluffy texture, giving dosas an interesting twist.
Cons
- Altered Flavor: Yeast can change the flavor profile significantly. Some purists miss the authentic tang that comes with traditional fermentation.
- Risk of Overproofing: There's also the risk of overproofing. If you use too much yeast or let it sit too long, the batter might taste yeasty or overly sour.
- Textural Difference: While some find the fluffiness appealing, others feel it detracts from the classic crispy and chewy sensation that dosa enthusiasts love.
Using yeast presents both opportunities and challenges in dosa-making. It’s about finding the balance that works for you. Some adventurous cooks even mix the two, using a bit of both traditional fermentation and yeast for faster results without compromising much on flavor. Don't hesitate to experiment and see what tickles your taste buds!
Maintaining Flavor and Texture
So, you've decided to experiment with yeast in your dosa batter. Now the big challenge is maintaining that beloved taste and texture. The great news is, with a bit of tweaking, you can enjoy the convenience of yeast without losing the traditional charm.
Balance is Key
Getting the right balance of yeast is crucial. Think of it as a seasoning - a little goes a long way. Too much yeast can result in a bread-like flavor, not the tangy hit dosas are known for. Start small; a pinch per cup of batter is often enough. You can always adjust to get your preferred taste.
Mixing Techniques
Your mixing technique can also affect the outcome. Stir the dosa batter gently after adding yeast to incorporate air, which helps in forming the desired crispy edges. An even mix ensures uniform fermentation, crucial for consistency in taste.
Temperature Matters
Temperature plays a huge role in fermentation. Warmer conditions speed up the process, so finding the sweet spot is vital. In cooler climates, consider placing your batter in a warmer spot, like inside an oven with just the light on. Too high a temperature could over-ferment, leading to unwanted flavors.
For some useful data, check out this basic fermentation guide:
| Temperature (°C) | Fermentation Time (Hours) |
|---|---|
| 18-20 | 10-12 |
| 21-24 | 6-8 |
| 25-28 | 4-6 |
The Sour Punch
To make up for any lost tanginess, some dosa enthusiasts add a spoonful of yogurt or a splash of lemon juice to the mix. This can mimic the sour punch naturally developed during traditional fermentation.
By experimenting and adjusting to your taste, you can enjoy a quicker dosa preparation while still savoring a delightful balance of flavor and texture.
Alternatives to Yeast
If you're not on board with the idea of using yeast in your dosa batter, don't worry! There are several tried-and-true methods to ensure your batter ferments well without it. Let's explore some popular alternatives.
Using Baking Soda
Baking soda is a common substitute that can help in achieving a quick fermentation effect. It won't give the same depth of flavor as the traditional method, but it can add a little fluffiness to your dosa recipe.
- Mix a small amount of baking soda into your batter just before cooking.
- Start with about 1/4 teaspoon per 2 cups of batter and adjust as needed.
The key is not to overdo it, as too much baking soda can make the dosa taste soapy.
Harnessing the Power of Fenugreek Seeds
Fenugreek seeds have a natural fermentation quality. Adding about half a teaspoon of these seeds to your dosa batter mixture can help expedite the process.
- Soak the seeds with your rice and urad dal.
- Grind everything together once soaked.
Fenugreek seeds not only promote fermentation but also improve the texture and nutritional profile of your dosa.
Utilizing Buttermilk
Buttermilk is another alternative many use. It's slightly acidic and can encourage fermentation.
- Add a cup of water mixed with buttermilk when preparing the batter.
- Let it sit for a few hours longer than usual.
Be aware that while buttermilk can make the dosa slightly tangy, it can also adjust the taste in ways you might not expect.
All these alternatives have their own charm, so feel free to experiment and find what suits your taste best! Remember, when it comes to making dosas, flavor and texture are king, and sometimes the journey there is half the fun.
Tips for Perfect Dosas
Getting your dosa batter just right is the first step towards making stellar dosas. Here's how to master it:
1. The Right Ingredients
A good dosa starts with the right mix. Typically, you'll need a 3:1 ratio of rice to urad dal. Some people throw in a handful of chana dal for extra crispiness.
2. Smooth Batter Consistency
Once soaked, grind your ingredients to a smooth, flowing consistency. This is key. If the batter's too thick, it won't spread nicely on the pan; too thin, and it’ll fall apart.
3. Proper Fermentation
Fermentation is crucial for that tangy flavor. Let it rest overnight at room temperature. In colder climates, it might take longer.
4. Master the Art of Spreading
When pouring dosa batter on a hot tawa (griddle), start from the center, working outwards in circular motions. Use a light hand—pressure makes it stick.
5. Heat Control
Keep the heat at medium-high. The right temperature ensures your dosa is crispy, not chewy. Drizzle a little oil around the edges to help it lift off easily.
6. Add a Yeast Twist
In a pinch, a tablespoon of yeast can quicken fermentation, especially if you're short on time. It’s handy but use it wisely to maintain flavor balance.
7. Seasoning the Tawa
Ensure your tawa is seasoned. Rub a sliced onion on it before each dosa for non-stick properties naturally.
8. Try Different Fillings
Mix up your dosa experience by exploring different fillings—potatoes, paneer, or even a spicy chutney.
Try these tips, and you'll be serving up dosas that are a hit in no time!