Perfect Dosage: How Much Baking Soda To Use in Dosa Batter for Fluffy Results
 Jul, 1 2025
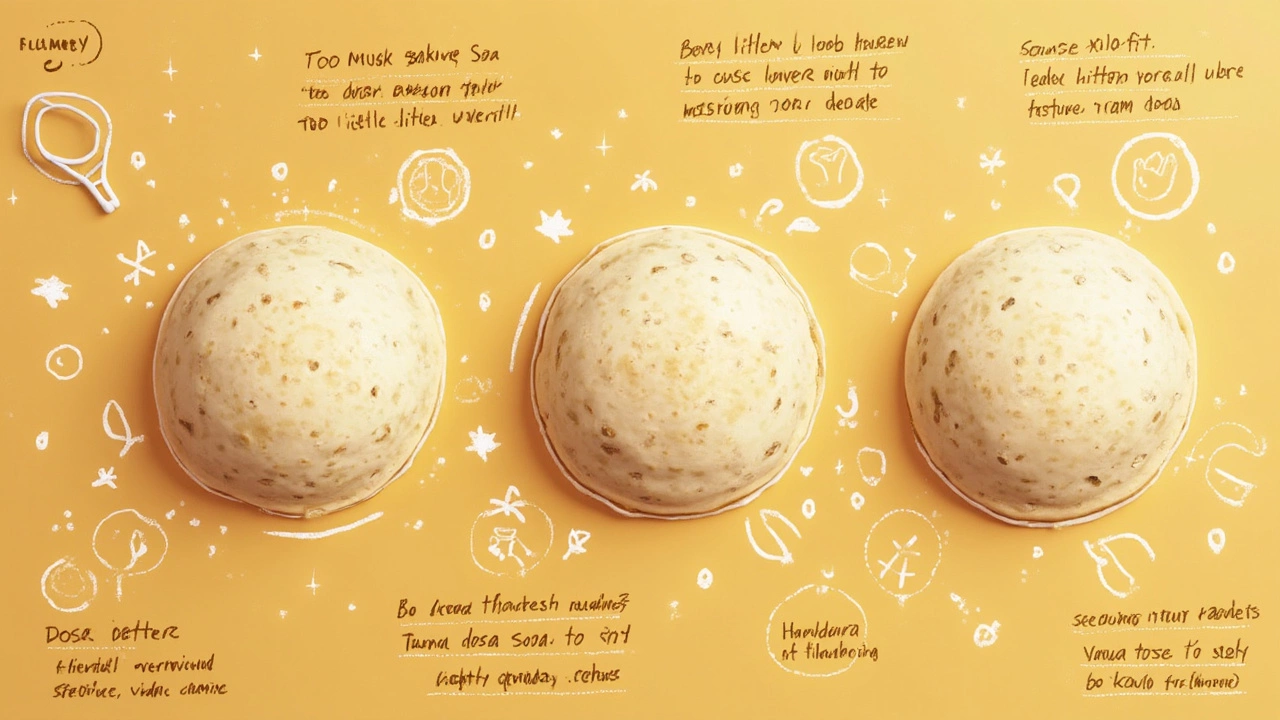
Craving crisp, golden, and featherlight dosas? One little pinch of something white can change your batter from dense and dull to restaurant-level delicious. It’s not magic—just baking soda. But before you shake half the box into your urad dal and rice, let’s get this straight: dosing baking soda right is the make-or-break detail most people overlook when whipping up dosa batter at home.
Baking Soda in Dosa Batter: How Much is Just Right?
Baking soda is powerful. A scant pinch can flip your dosa from chewy to cloudlike, but cross the line and you’ll be eating pancakes with a chemical aftertaste. The sweet spot? For every two cups (about 500 ml) of dosa batter, use just 1/8 teaspoon of baking soda. Not more, not less. Yes, that tiny—one of those ‘just barely there’ kitchen measurements. It doesn’t sound like much, but baking soda works by breaking down and releasing carbon dioxide when it hits moisture and acidity. That’s what puts the bubbles in your batter and makes the dosas airy on the griddle.
If you’re cooking for a crowd and doubling your batter, keep the ratio simple: 1/8 teaspoon per two cups. Don’t eyeball it. Use a measuring spoon—the smallest one in the ring set, probably dusty from lack of use. If you don’t have a measuring spoon that fine, use a regular teaspoon and estimate exactly one-sixteenth of it. Some old-school cooks use the ‘two-finger pinch’ rule, but honestly, more precision gives better results.
There’s a twist, though. Baking soda isn’t always needed for traditional dosa. Authentic dosa gets its airiness from natural fermentation—thanks to lactic acid bacteria doing their thing for 8 to 12 hours as the batter rests. But if your kitchen is cold, or your batter is a bit flat, baking soda is your backup plan. Adding more than the amount above might seem tempting if you’re in a hurry, but resist. Overdoing the soda can make your dosa taste bitter or metallic, and they’ll get brown too fast, burning before they turn crisp.
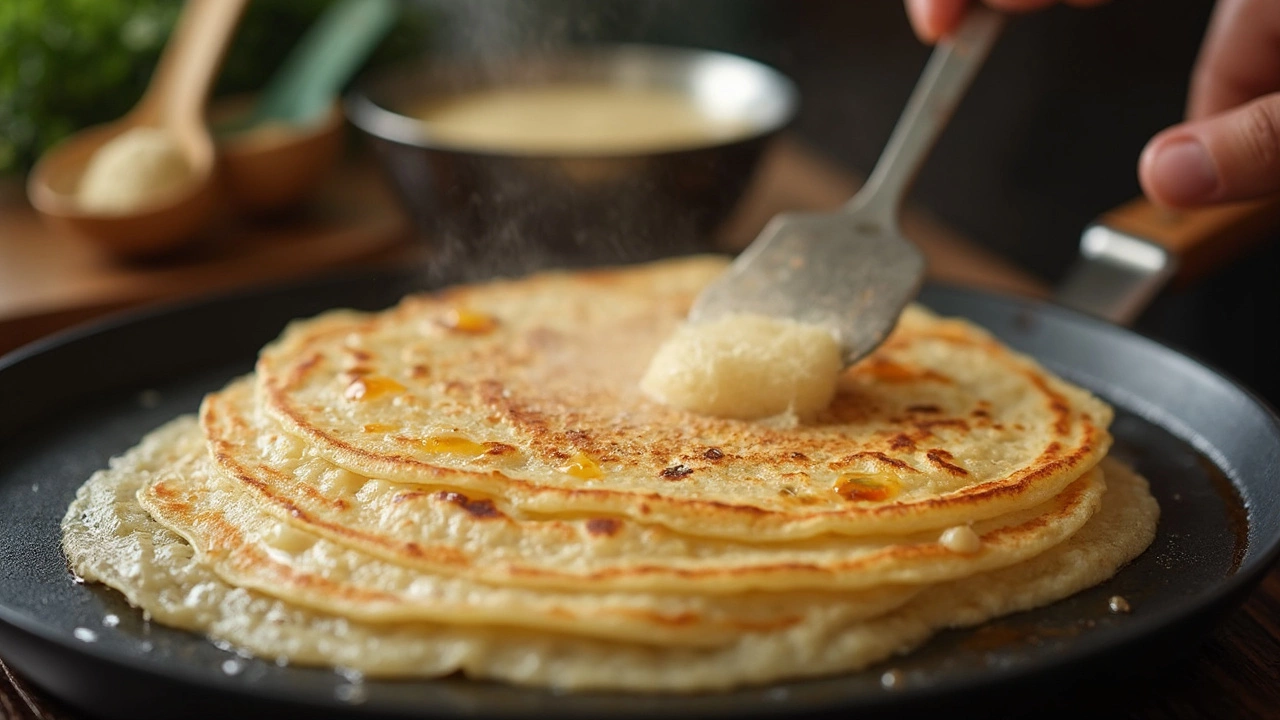
Another tip: add the baking soda just before you’re ready to make dosas, not before fermenting. Stir it in gently, don’t beat the batter or you’ll burst the gas bubbles before they hit the hot pan. For folks who forgot to plan ahead, baking soda is a lifesaver on rainy days when the batter refuses to rise properly. But try using it sparingly, especially for traditional South Indian recipes where flavor and texture matter most.
How Baking Soda Affects Fermentation and Texture
So, what’s going on behind the scenes in that mixing bowl? Dosa batter is like a living thing—the rice and urad dal slurry ferments with help from wild yeast and lactic acid bacteria. These microbes eat up the starches, release carbon dioxide, and produce lactic acid, giving the batter its classic tang. Usually, 8 to 12 hours is enough for the batter to double in volume if you keep it somewhere nice and warm. That’s the old-school path to pillowy-soft dosas.
Baking soda comes in when something goes wrong with fermentation—or you’re impatient. Its science is simple: sodium bicarbonate reacts when it gets wet and meets acid (lactic acid in your fermented batter). This reaction is lightning fast compared to natural fermentation. You see bubbles, hear a fizz, and suddenly your heavy batter is light and lively. The result? Dosas that spread easier, cook evenly, and have a lovely golden color. But there’s a catch. Baking soda neutralizes the acid in the batter, which means if you use too much, you’ll lose that signature tangy taste of a great dosa chain. It also makes the batter slightly more alkaline, changing the texture from crisp and lacy to almost bread-like if overused.
Here’s an insider move: if your batter feels too sour, baking soda helps mellow the flavor as it raises the pH, but don’t depend on it as a cover-up for badly fermented batter. Better to learn a few tricks for ideal fermentation: use filtered water (chlorine can inhibit yeast), grind the dal and rice really smooth, and rest your bowl somewhere cozy (like inside your oven with the light on). If it’s winter, wrap the bowl in a towel or set it near a gas stove pilot.
If you sometimes get dosas that are greasy or uneven, that’s a sign the leavening is out of balance. Start with 1/8 teaspoon baking soda for 2 cups batter, test a single dosa, and tweak only if truly needed. For a bonus, add a splash of club soda or a drop of lemon juice with the baking soda for even bigger bubbles. Remember, less is more when it comes to creating an iconic South Indian dosa at home.
Baking Soda Tips, Troubleshooting, and Pro Secrets for Great Dosas
If you’ve ruined a batch (we all have), don’t toss it. Too much baking soda? Try adding a tablespoon of fresh yogurt to the batter. The acid will neutralize some extra soda, fixing the soapy aftertaste. If your batter still looks lifeless, check the age of your baking soda. Most boxes lose power after six months, especially if they’re open. Always use fresh baking soda for best rise.
Here’s a common mistake: confusing baking soda with baking powder. They’re not interchangeable! Baking soda is pure sodium bicarbonate, while baking powder contains both acid and base, which can mess with dosa flavor. Stick with baking soda for that classic bite.
Another thing—don’t rely solely on baking soda to do the heavy lifting. Great dosa is about the art of fermentation. The best South Indian cooks can judge the batter at a glance: volume doubled, surface has tiny bubbles, and a faint sour aroma means you’re golden. Soda is just an assist, not a shortcut.
Pro secret: If the weather’s cold or your kitchen is air-conditioned (common for lots of home cooks in apartments), fermentation slows down. Keep an insulated thermos or a preheated oven (turned off, with the door closed) handy for proofing your batter. A single raisin tossed into the batter can even boost natural fermentation—try it next time you’re struggling for rise instead of dumping in extra soda.
- Check the texture before every batch. Thick batter leads to dense dosas. Aim for a texture slightly looser than pancake batter. Add a splash of water if needed.
- Let the batter rest after adding baking soda. Five to ten minutes is enough for the bubbles to form.
- Grease your tawa lightly, wipe off excess oil, and pour the batter into the center, swirling with the back of the ladle to spread thinly. You’ll see tiny bubbles appear instantly—that’s the soda doing its thing.
- If your dosas are sticking, your pan probably isn’t hot enough, or you have too much oil—or you missed the soda step.
Finally, keep notes. Every home kitchen is different, and even seasoned cooks tinker with their batter formula. Write down how much baking soda you added, how long you fermented, and what the weather was like. That way, next time you’re gunning for those perfect, fluffy, golden-brown dosas, you’ll know exactly what to tweak.
Ready for that freshly made dosa with just the right crunch? Next time you’re mixing up a batch, remember: dosa batter only needs the barest whisper of baking soda for magic. A pinch can unlock flavor, texture, and that signature airy finish—just don’t let impatience or heavy hands sabotage the tradition.