Why Lemon Juice Makes Milk Curdle: The Science, Kitchen Hacks, and Surprising Uses
 Jul, 8 2025
Ever stood in your kitchen staring at your cup of milk, a lemon in hand, and wondered if you’re about to ruin breakfast or make something magical? Maybe your chai recipe calls for a dash of lemon, and someone tells you, “Don’t do it! It’ll curdle.” Or maybe you want to make paneer at home, and the recipe says, “Add lemon juice when the milk boils.” What’s really happening when milk meets lemon? Is it some ancient kitchen wisdom, or just a chemical accident?
The Science Behind Milk Curdling With Lemon Juice
At first glance, milk seems pretty simple. But, like my sassy cat Simba chasing sunbeams, it’s way more complex than you imagine. Milk is mostly water, but it’s really a party of proteins, fats, and sugars swirling together in harmony. The main protein in milk is called casein, and it acts like a bunch of tiny balloons floating apart from each other. That’s because the casein proteins are slightly negatively charged, so they repel each other—kind of like how you and your sibling might after a big fight. This keeps milk looking smooth and uniform.
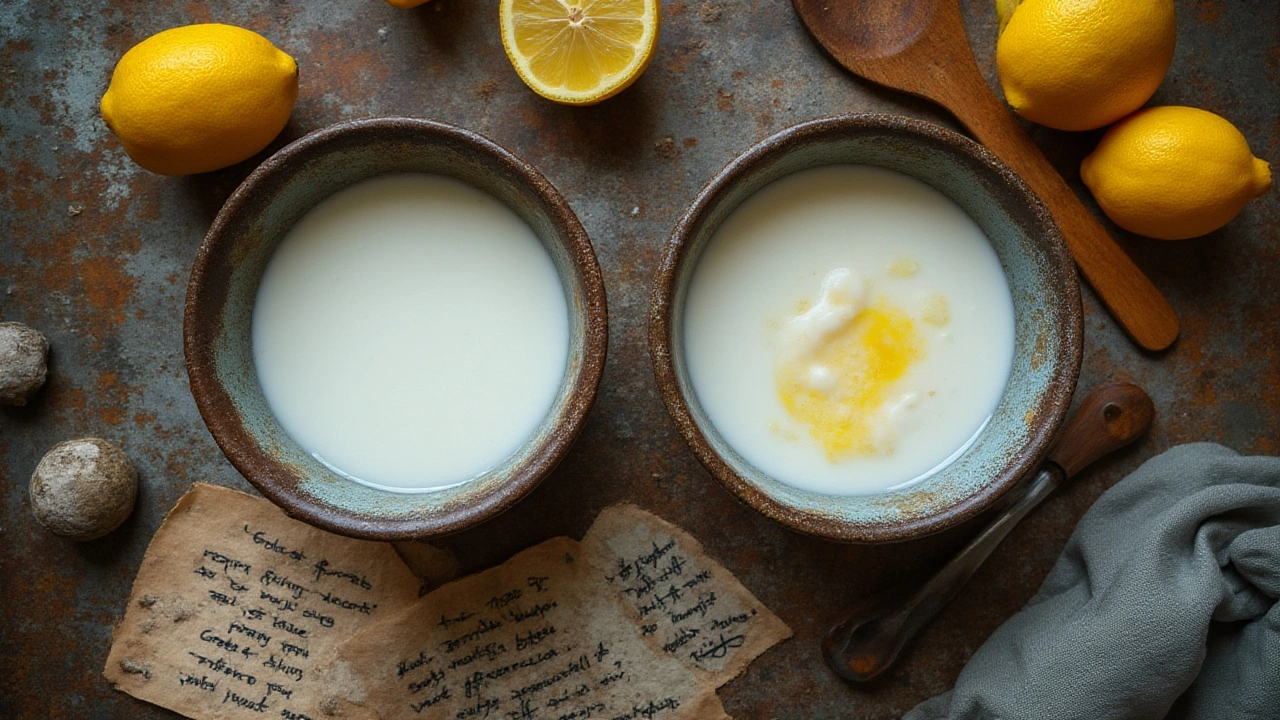
Lemon juice, on the other hand, is packed with citric acid. The moment you add lemon juice to milk, the acid stirs things up by lowering the pH level. Once the milk’s pH drops from its usual 6.7 closer to 4.6, this charge on the casein proteins disappears. The result? The little “balloons” clump together, and the watery part (whey) separates from the solid clumps (curds). Suddenly, what was once creamy and smooth now looks lumpy. It’s the same idea you see when making cheese, but here, you’re using lemon juice instead of bacterial cultures or other acids.
The whole process doesn’t need much caffeine or complicated equipment either. Just a tablespoon or so of lemon juice (about 15ml) is often enough to curdle 500ml of milk, especially if the milk is heated first. The temperature really matters. Warm milk helps the acid do its job faster. That’s why recipes for paneer, chhena, or even cottage cheese tell you to gently boil the milk before adding the lemon.
The change is fast—a few seconds to a couple of minutes, tops. And some fun science for you: A study from the Indian Institute of Technology (IIT) Kharagpur found that milk heated to 85°C (185°F) curdles the fastest with lemon juice, compared to lower temperatures. Not that you need a lab to see it—just try it at home.
| Acid Used | Amount Required (per liter) | Curdling Time (seconds) |
|---|---|---|
| Lemon Juice | 30ml | 15-30 |
| Vinegar | 20ml | 10-25 |
| Sour Curd | 80ml | 30-60 |
It’s also cool to note that this trick won’t work with all types of milk. UHT milk, skimmed milk, or “toned” milk from the store is sometimes a bit resistant due to how it’s processed. They curdle less easily or give a smaller yield of curds.
Why Your Milk Curdles (And Why You Might Want It To)
Most of the time, people freak out when their milk curdles, thinking it’s spoiled or toxic. But if you’ve *intentionally* added lemon juice, you’re not making something unsafe—you’re literally making a fresh cheese. Curdling is the very heart of recipes like paneer, ricotta, and chhena. It’s a simple magic trick possible in any kitchen, no culinary school required.
But why would you ever want to curdle milk on purpose? Paneer lovers know the answer: those soft, chewy cubes in a good palak paneer start with nothing but boiled milk and lemon. The acid splits the protein and fat out, leaving you with a surprisingly fluffy, versatile cheese. And it’s not just for curries—Indian sweets like rasgulla and sandesh also start here. Italian ricotta and queso blanco work the same way, believe it or not.
Don’t panic if your milk “accidentally” curdles with a bit of lemon dropped in by mistake. You haven’t made a science experiment gone wrong—just strain out the curds and you can make cheese, if you’re so inclined. The cloudy liquid you see, called whey, is loaded with protein and other goodies. Grandma might tell you to throw it away, but it’s actually a great addition to soups, dough for rotis, and even the odd smoothie. (I wouldn’t tell Simba, though—he’s oddly obsessed with just water.)
Here’s the funny thing: sometimes, you WANT to avoid curdling, especially in delicate sauces or soups where you’re using milk or cream and adding something acidic, like tomatoes or wine. If you throw everything in at once and boil it hard, you will get curdling. The trick? Temper the liquids—add acid slowly, stir gently, and keep the heat on the low side. Using higher-fat milk or cream also helps, since fat coats the proteins and slows down the clumping process.
- If you want milk curdle for cheese, use fresh, full-fat milk and heat it to a gentle simmer before adding lemon juice bit by bit.
- If you DON’T want curdling, avoid sudden heat and acid. Add a bit of flour or cornstarch to your milk-based sauces to stabilize them.
- Always add acid gradually and stir while you do it, unless you’re making cheese.
People in Mumbai (or most of India, really) have been using lemon to curdle milk for generations—no fancy gadgets, no mystery powders. It’s all about the timing and knowing what you want from your milk.
What About Nutrition and Safety?
This part gets confusing fast, especially if you’ve got a mom or dadi (grandma) warning you about “bad” curdled milk. When you curdle milk with lemon juice that’s fresh and not spoiled, it’s completely safe to eat. In fact, you’re increasing the protein availability, turning loose liquid into solid curds packed with nutrients. Paneer, for example, is loaded with casein (a slow-digesting protein), plus calcium and phosphorus, which are great for bones.
But spoiled milk is a different beast. If your milk curdles on its own, smells awful, or looks slimy—don’t taste it! That’s bacteria at work, producing lactic acid and possible toxins. This is different from slowly adding lemon juice to hot, fresh milk. When you’re curdling intentionally, you’re controlling the process and making sure everything is clean. Science backs this up—lab tests show that casein proteins broken down by direct acid (like lemon) don’t pick up harmful bugs if traditional food hygiene is practiced. A famous study from the All India Institute of Hygiene & Public Health tracked home and small business paneer production, showing that lemon-based paneer made under clean conditions had no more bacterial risk than other fresh foods.
Another nutrition boost: curdling helps people who are lactose-intolerant because much of the milk sugar (lactose) ends up in the whey, which you can throw away. That’s why folks with milk sensitivities often find paneer or ricotta easier on the stomach.
If you accidentally curdle milk in your chai, it’s best not to gulp it down. The taste and texture are just off. But don’t toss that pan right away—strained curds can end up in baking, parathas, or even as a protein boost for your dog (if you have one more forgiving than Simba, who’s a picky eater).
- Freshly curdled milk (with lemon) is safe; sour, old, or foul-smelling milk is not.
- Always strain your curds promptly to keep them from soaking up lemon’s sourness or getting rubbery.
- The leftover whey is rich in minerals and can perk up soups, dals, or even be kneaded into dough for softer parathas.
Creative Kitchen Ideas: Turning Curdled Milk Into Something Yummy
So what can you do with purposefully curdled milk? The options are endless, and you don’t need special skills or fancy recipes. Paneer gets all the glory, but you can also make sweet treats, dips, or even creamy spreads. Want something healthier? Use the whey (the clear liquid) in place of water when cooking rice or kneading bread—it adds subtle flavor and nutrients, no waste at all!
Need a quick step-by-step to make homemade paneer?
- Heat 1 liter of fresh, full-fat milk in a heavy-bottomed pan. Let it come to a gentle boil while stirring.
- Switch off the heat. Add 1-2 tablespoons of lemon juice slowly, stirring continuously.
- You’ll see the milk suddenly split into yellowish whey and white curds. If it doesn’t, add another half tablespoon lemon.
- Once curdled, line a strainer with clean muslin cloth and pour the mixture through.
- Rinse the curds with cool water (removes lemon flavor).
- Gather the cloth and press gently to squeeze out water. Tie it up and hang for 30-60 minutes for firmer paneer.
I love crumbling fresh paneer over salads—top with olive oil, salt, and chili flakes. Or mash it with a spoon of sugar and cardamom for a last-minute sandesh (a Bengali sweet). Don’t waste the whey. It keeps bread soft and makes rice fluffy. My neighbor uses whey to water her plants, swearing it makes her money plant grow faster. I haven’t tried watering Simba… yet.
One more tip: if you’re using store-bought milk, check the label. Some brands don’t curdle as easily because of processing. Fresh local milk almost always works best for paneer or chhena.
- Don’t use lemon juice with packaged long-life milk—the curds are too rubbery.
- For softer curds (good for sweets), add the lemon juice slowly, use less heat, and strain sooner.
- Want thicker paneer? Press the curds under a heavy plate for an hour.
So, next time you reach for that lemon when handling milk, remember: curdling isn’t a kitchen disaster. It’s a clever, centuries-old trick that transforms milk’s proteins and opens up a world of delicious, affordable homemade food. Who knew a little acid and a bit of heat could do so much?